
Introduction

A quick blog post showing a local Raspberry Pi 5 kubernetes cluster build.
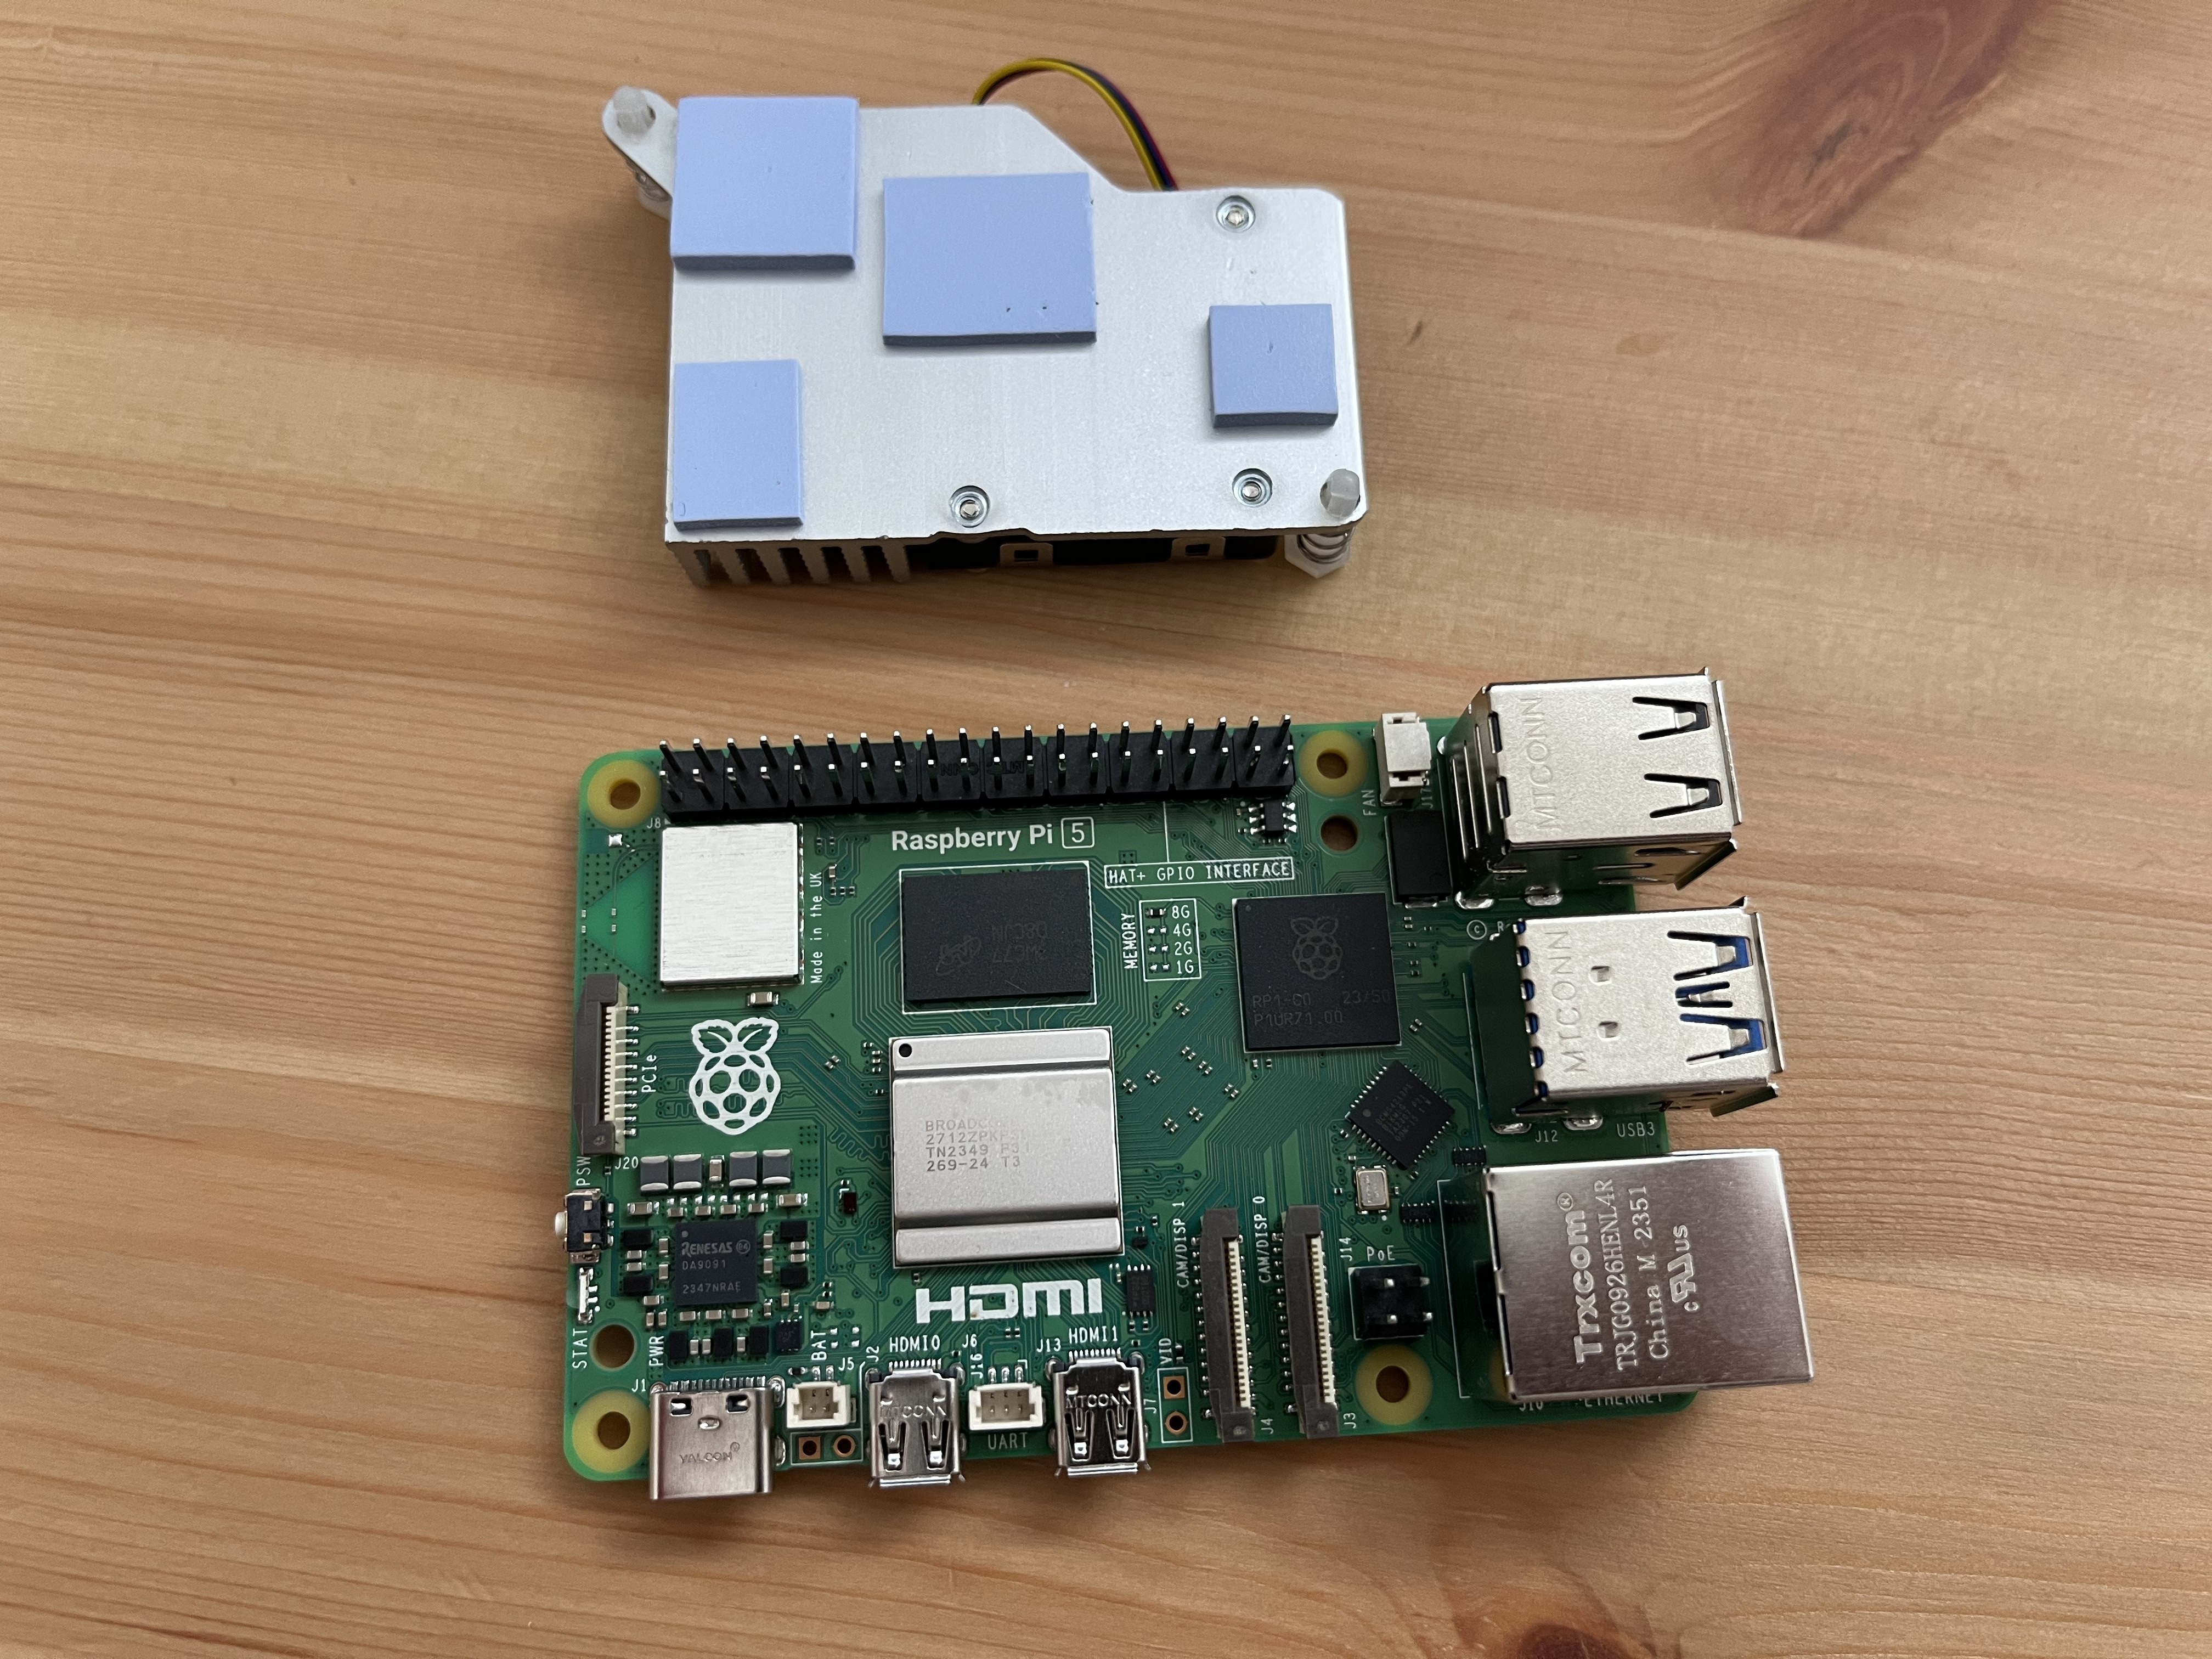
Here are the build specs. I have two nodes, each running:
- 2.4GHz quad-core 64-bit Arm Cortex-A76 CPU
- 8 GB Memory
- 256Gb Storage
- POE+
The Build!
Cost break down:
- Raspberry Pi 5 - 8GB - £76.50
- POE+ - HatDrive! PoE+ for Raspberry Pi 5 - £43.90
- Raspberry Pi SSD - £28.80
- Active Cooler for Raspberry Pi 5 - £4.50
Total price per node: £153.70

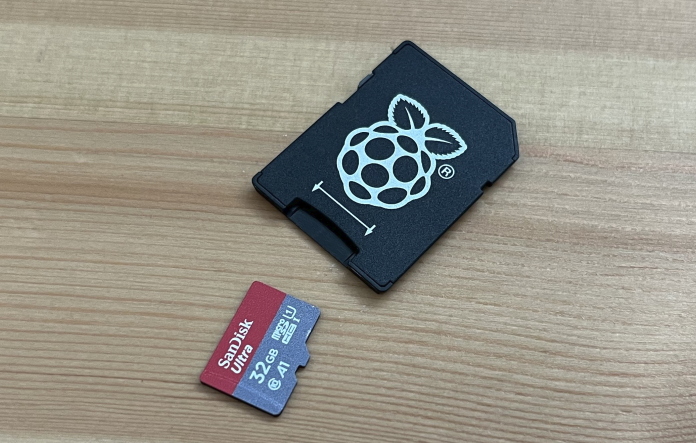
Setup Boot Drive
If you don’t have an NVMe SSD adapter, then you can use a MicroSD on the Pi5 to download the server image and burn it to the NVMe directly from the Pi5.
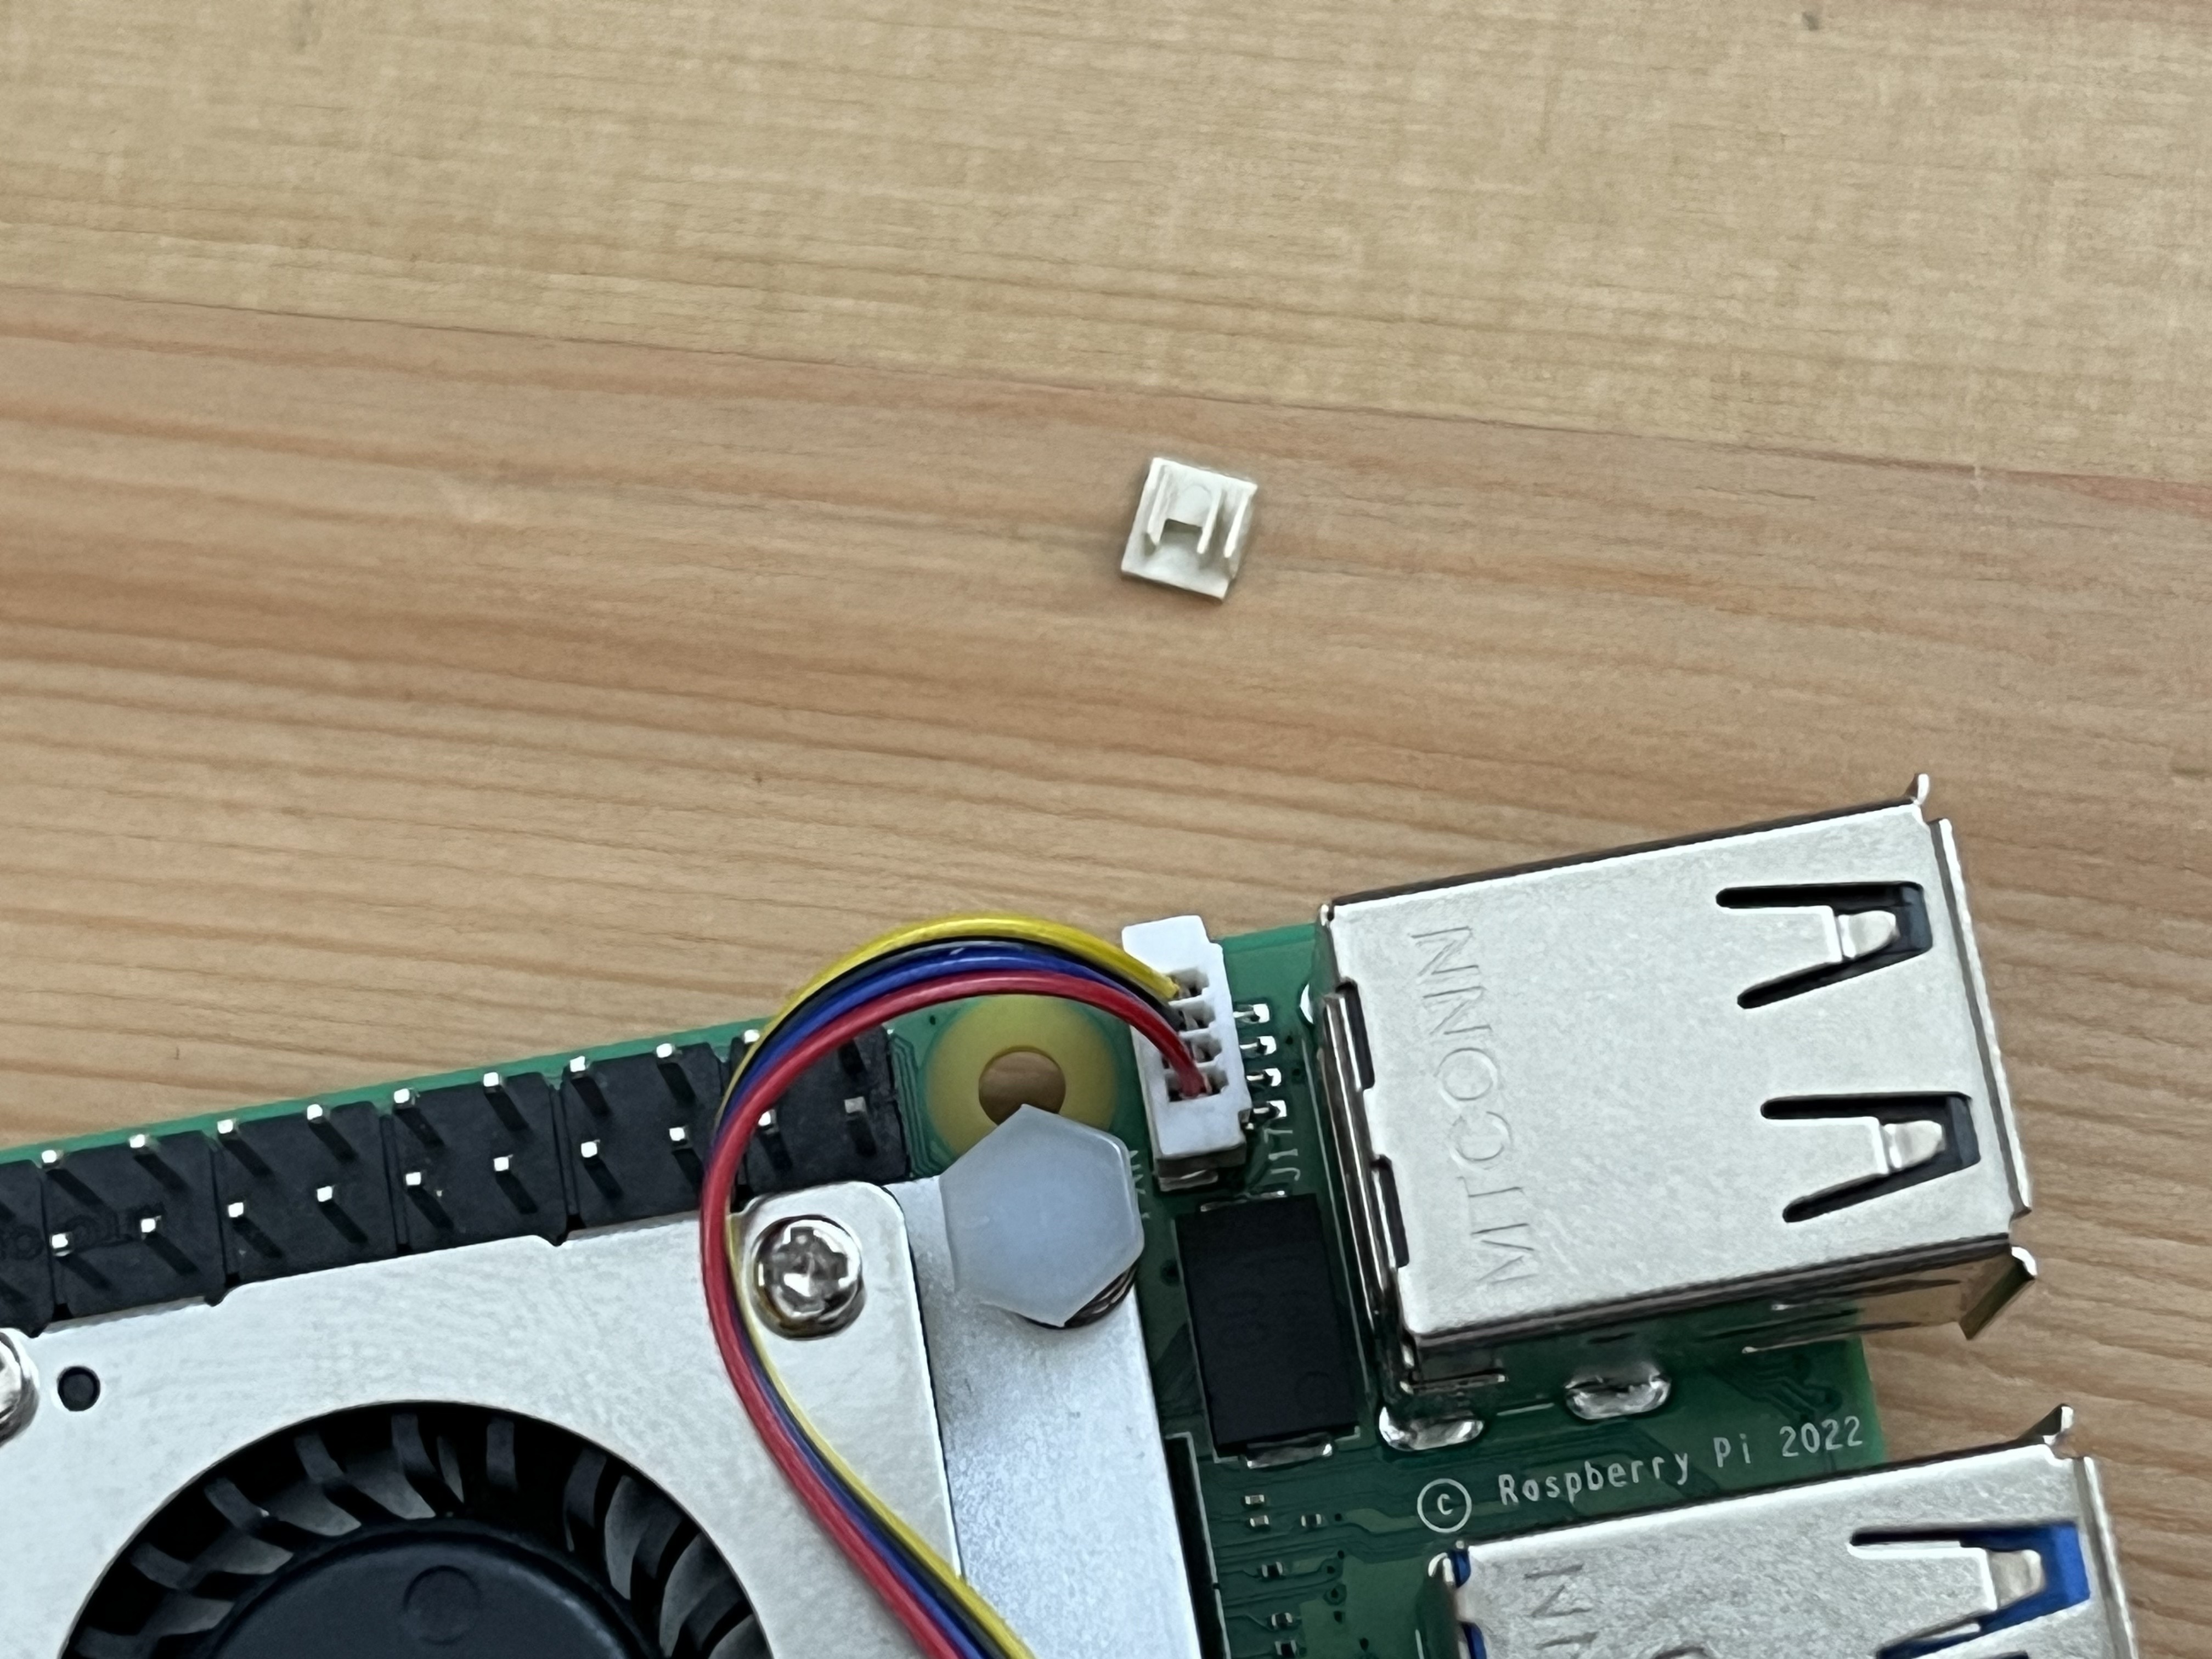
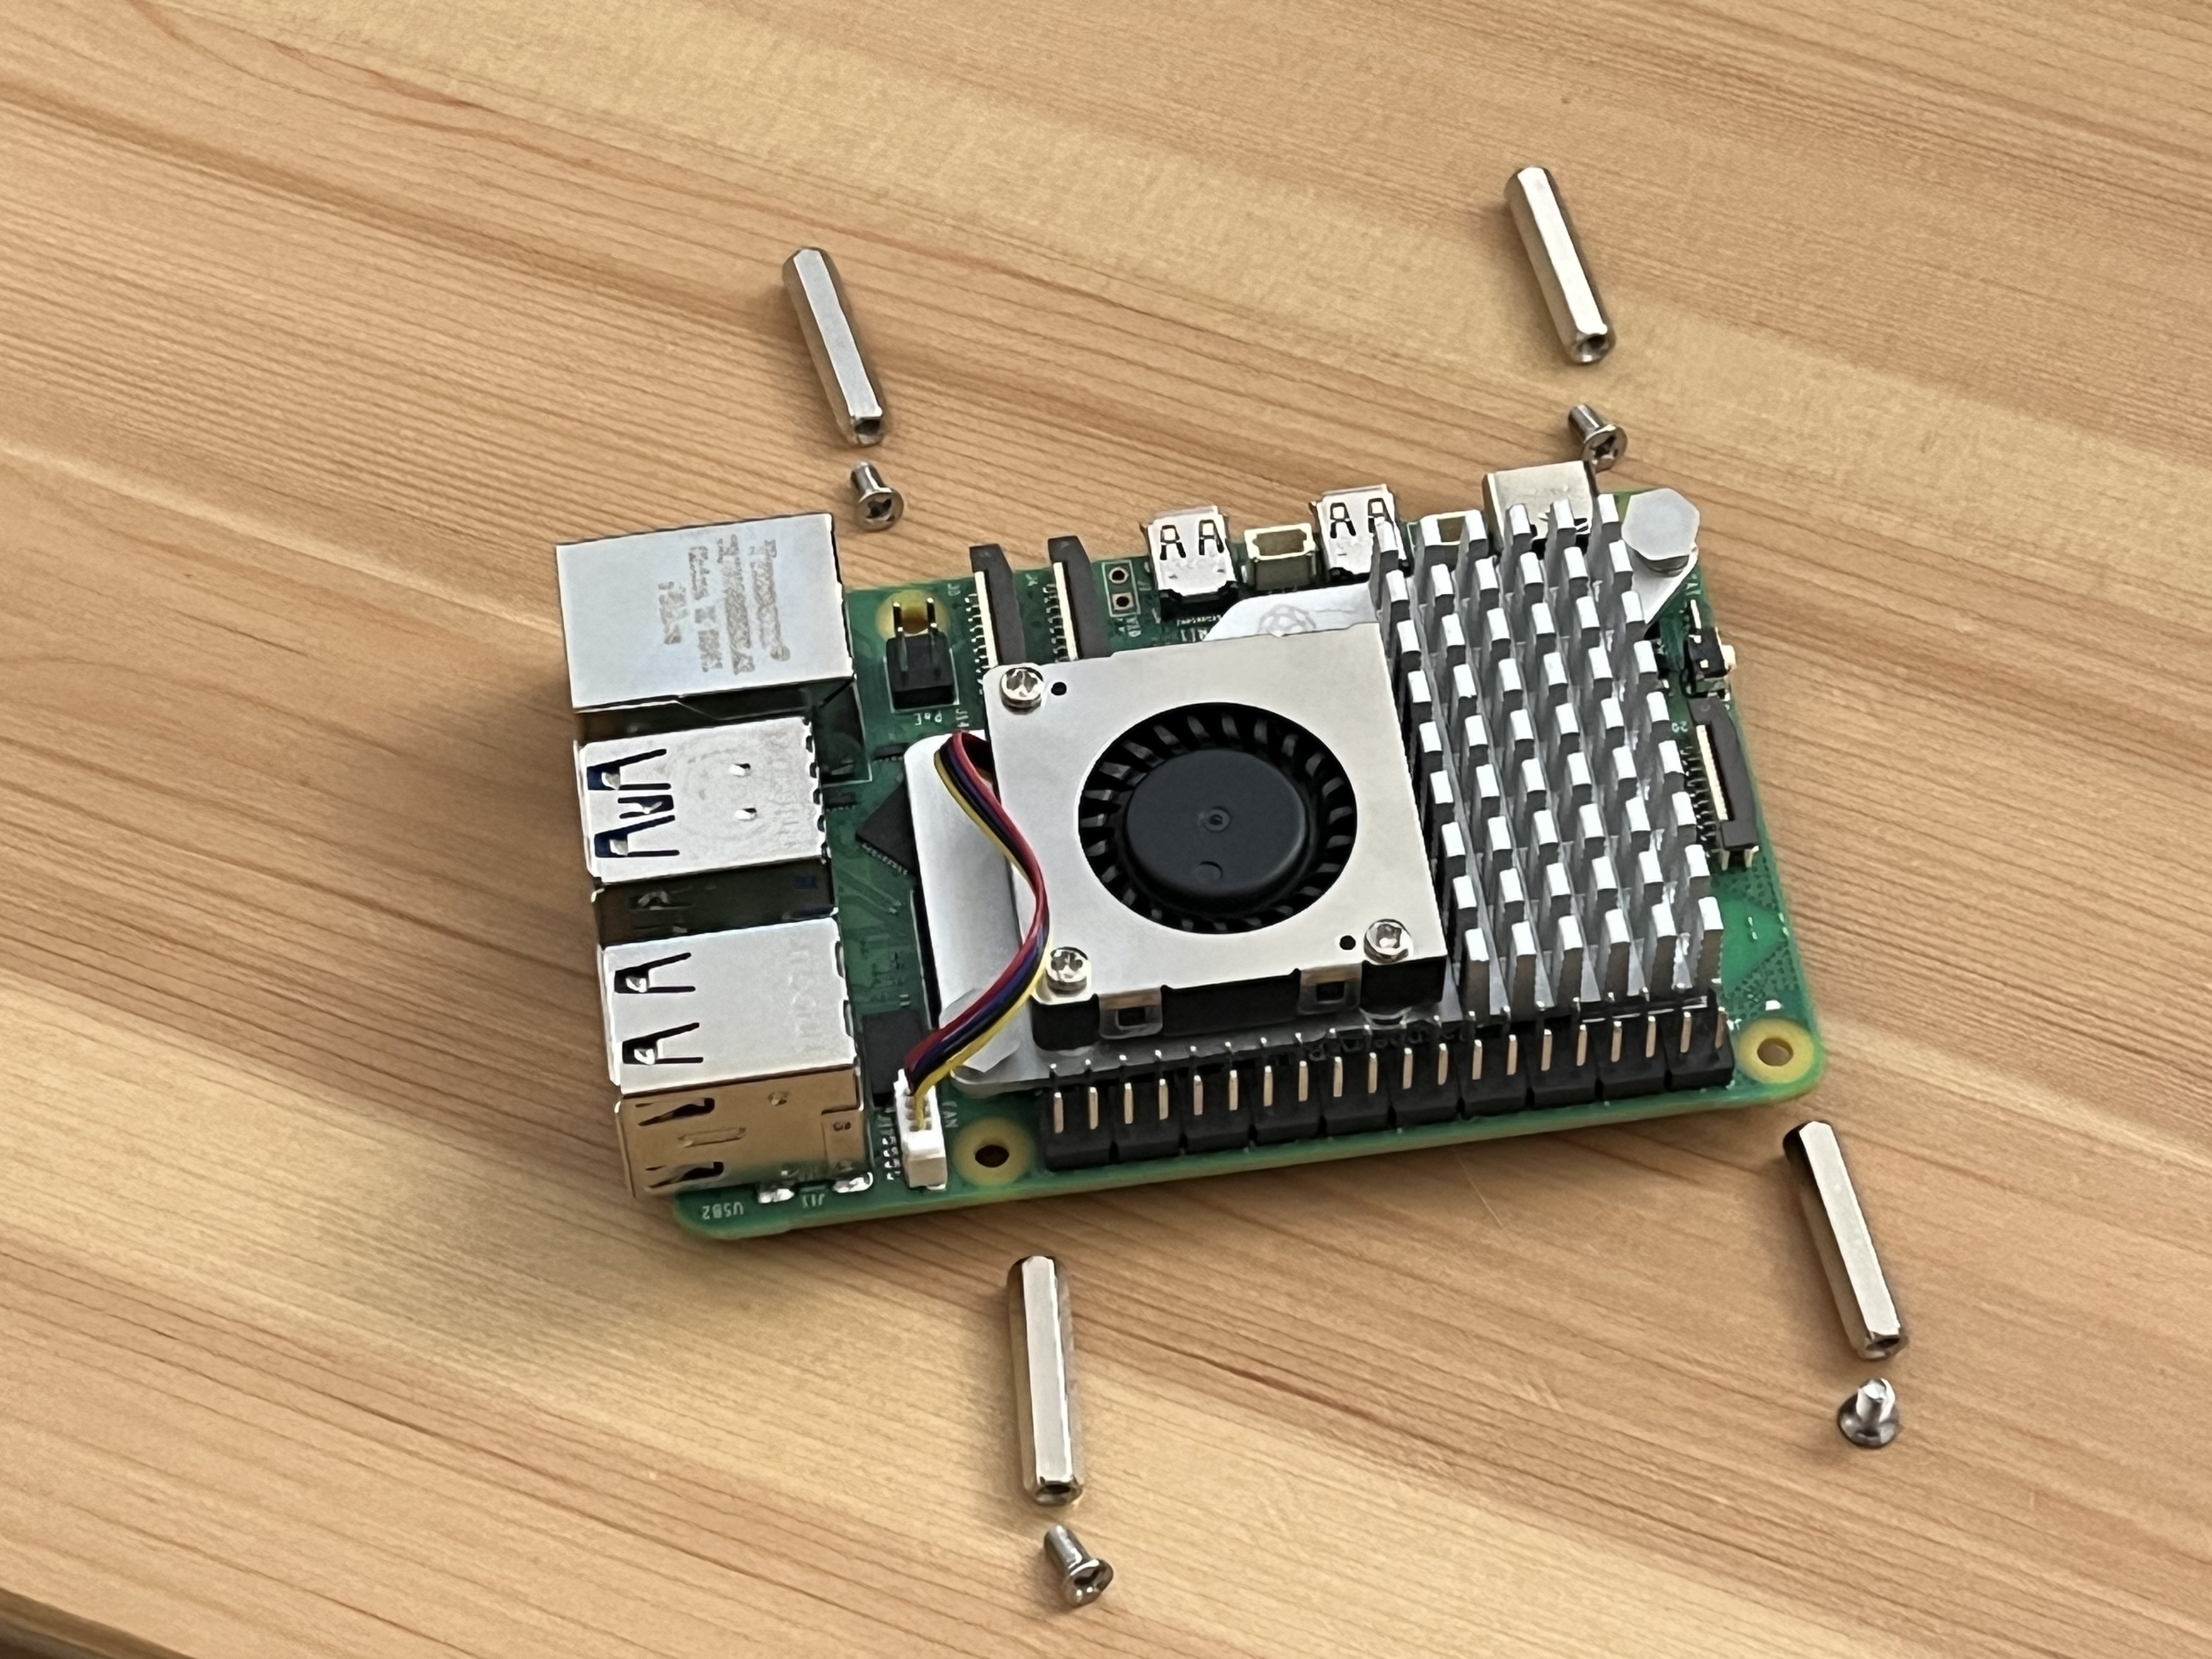
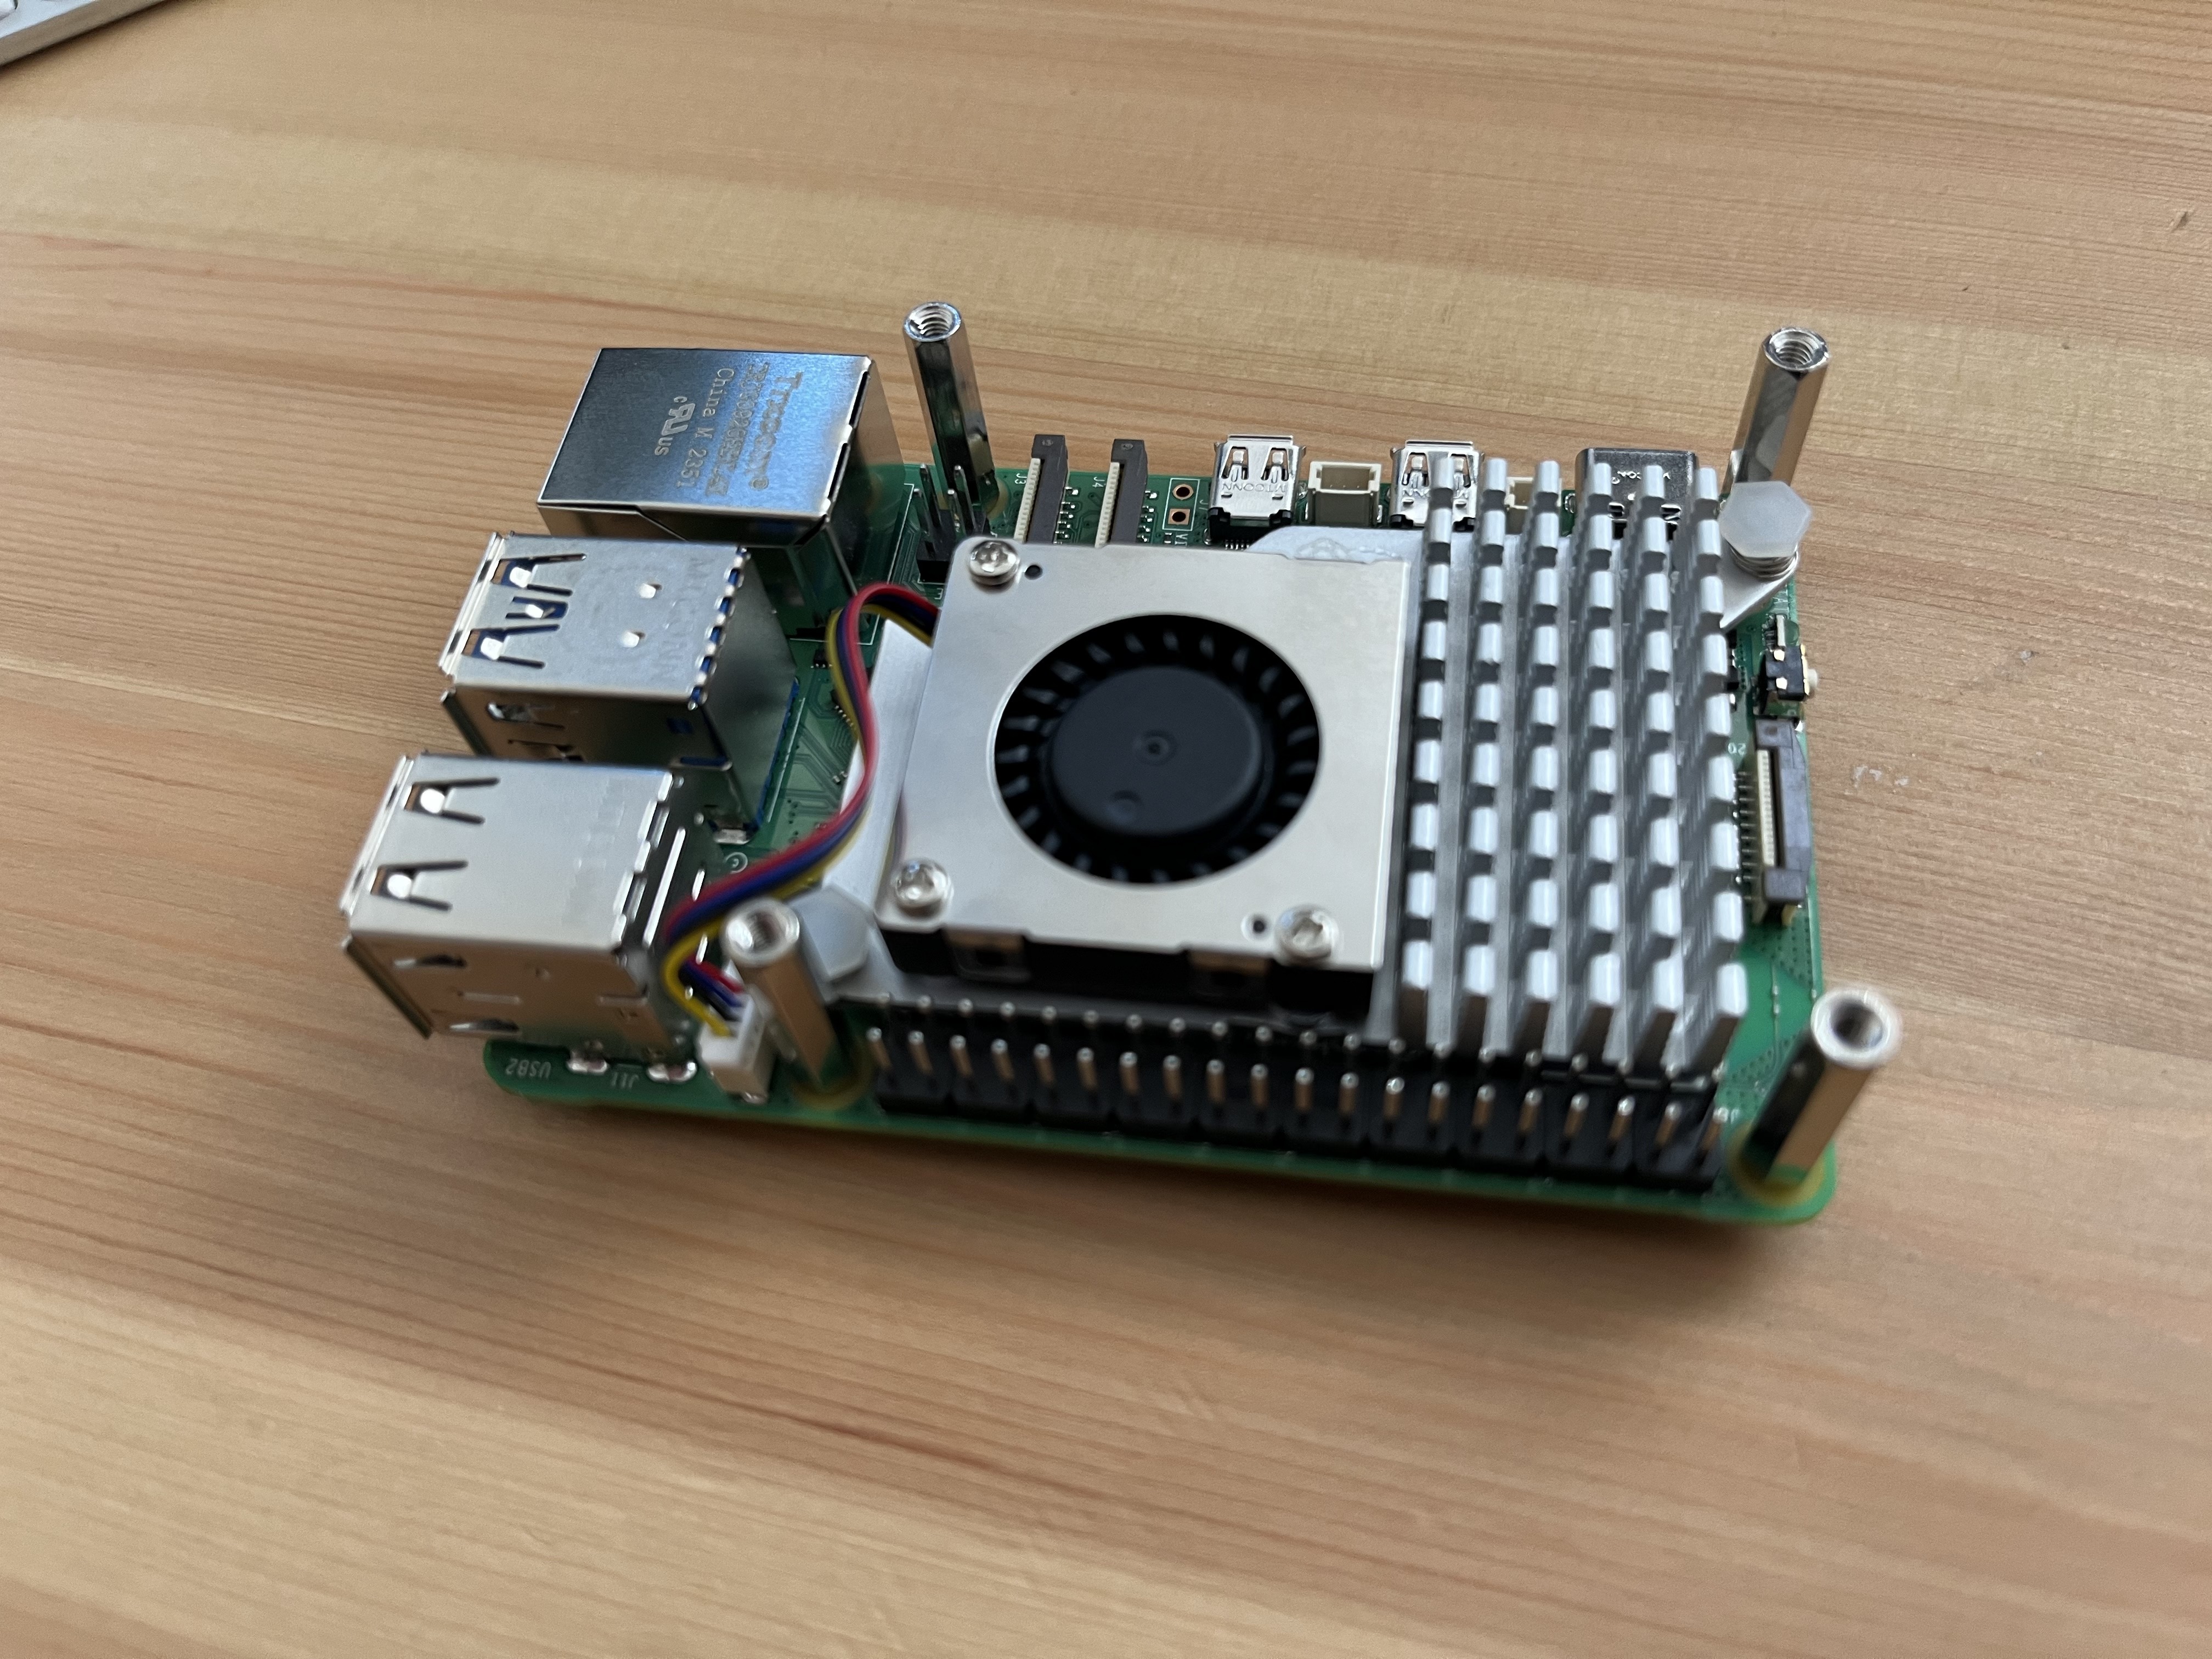
Attaching the Raspberry Pi Offical Fan
A fan is a must, these Pi5’s pack a lot of punch for their size and create a lot of a heat.
The official fans do a decent job of displacing that heat. However, if I were to start over I would have considered the airflow loss by adding the HatDrive in the next step.


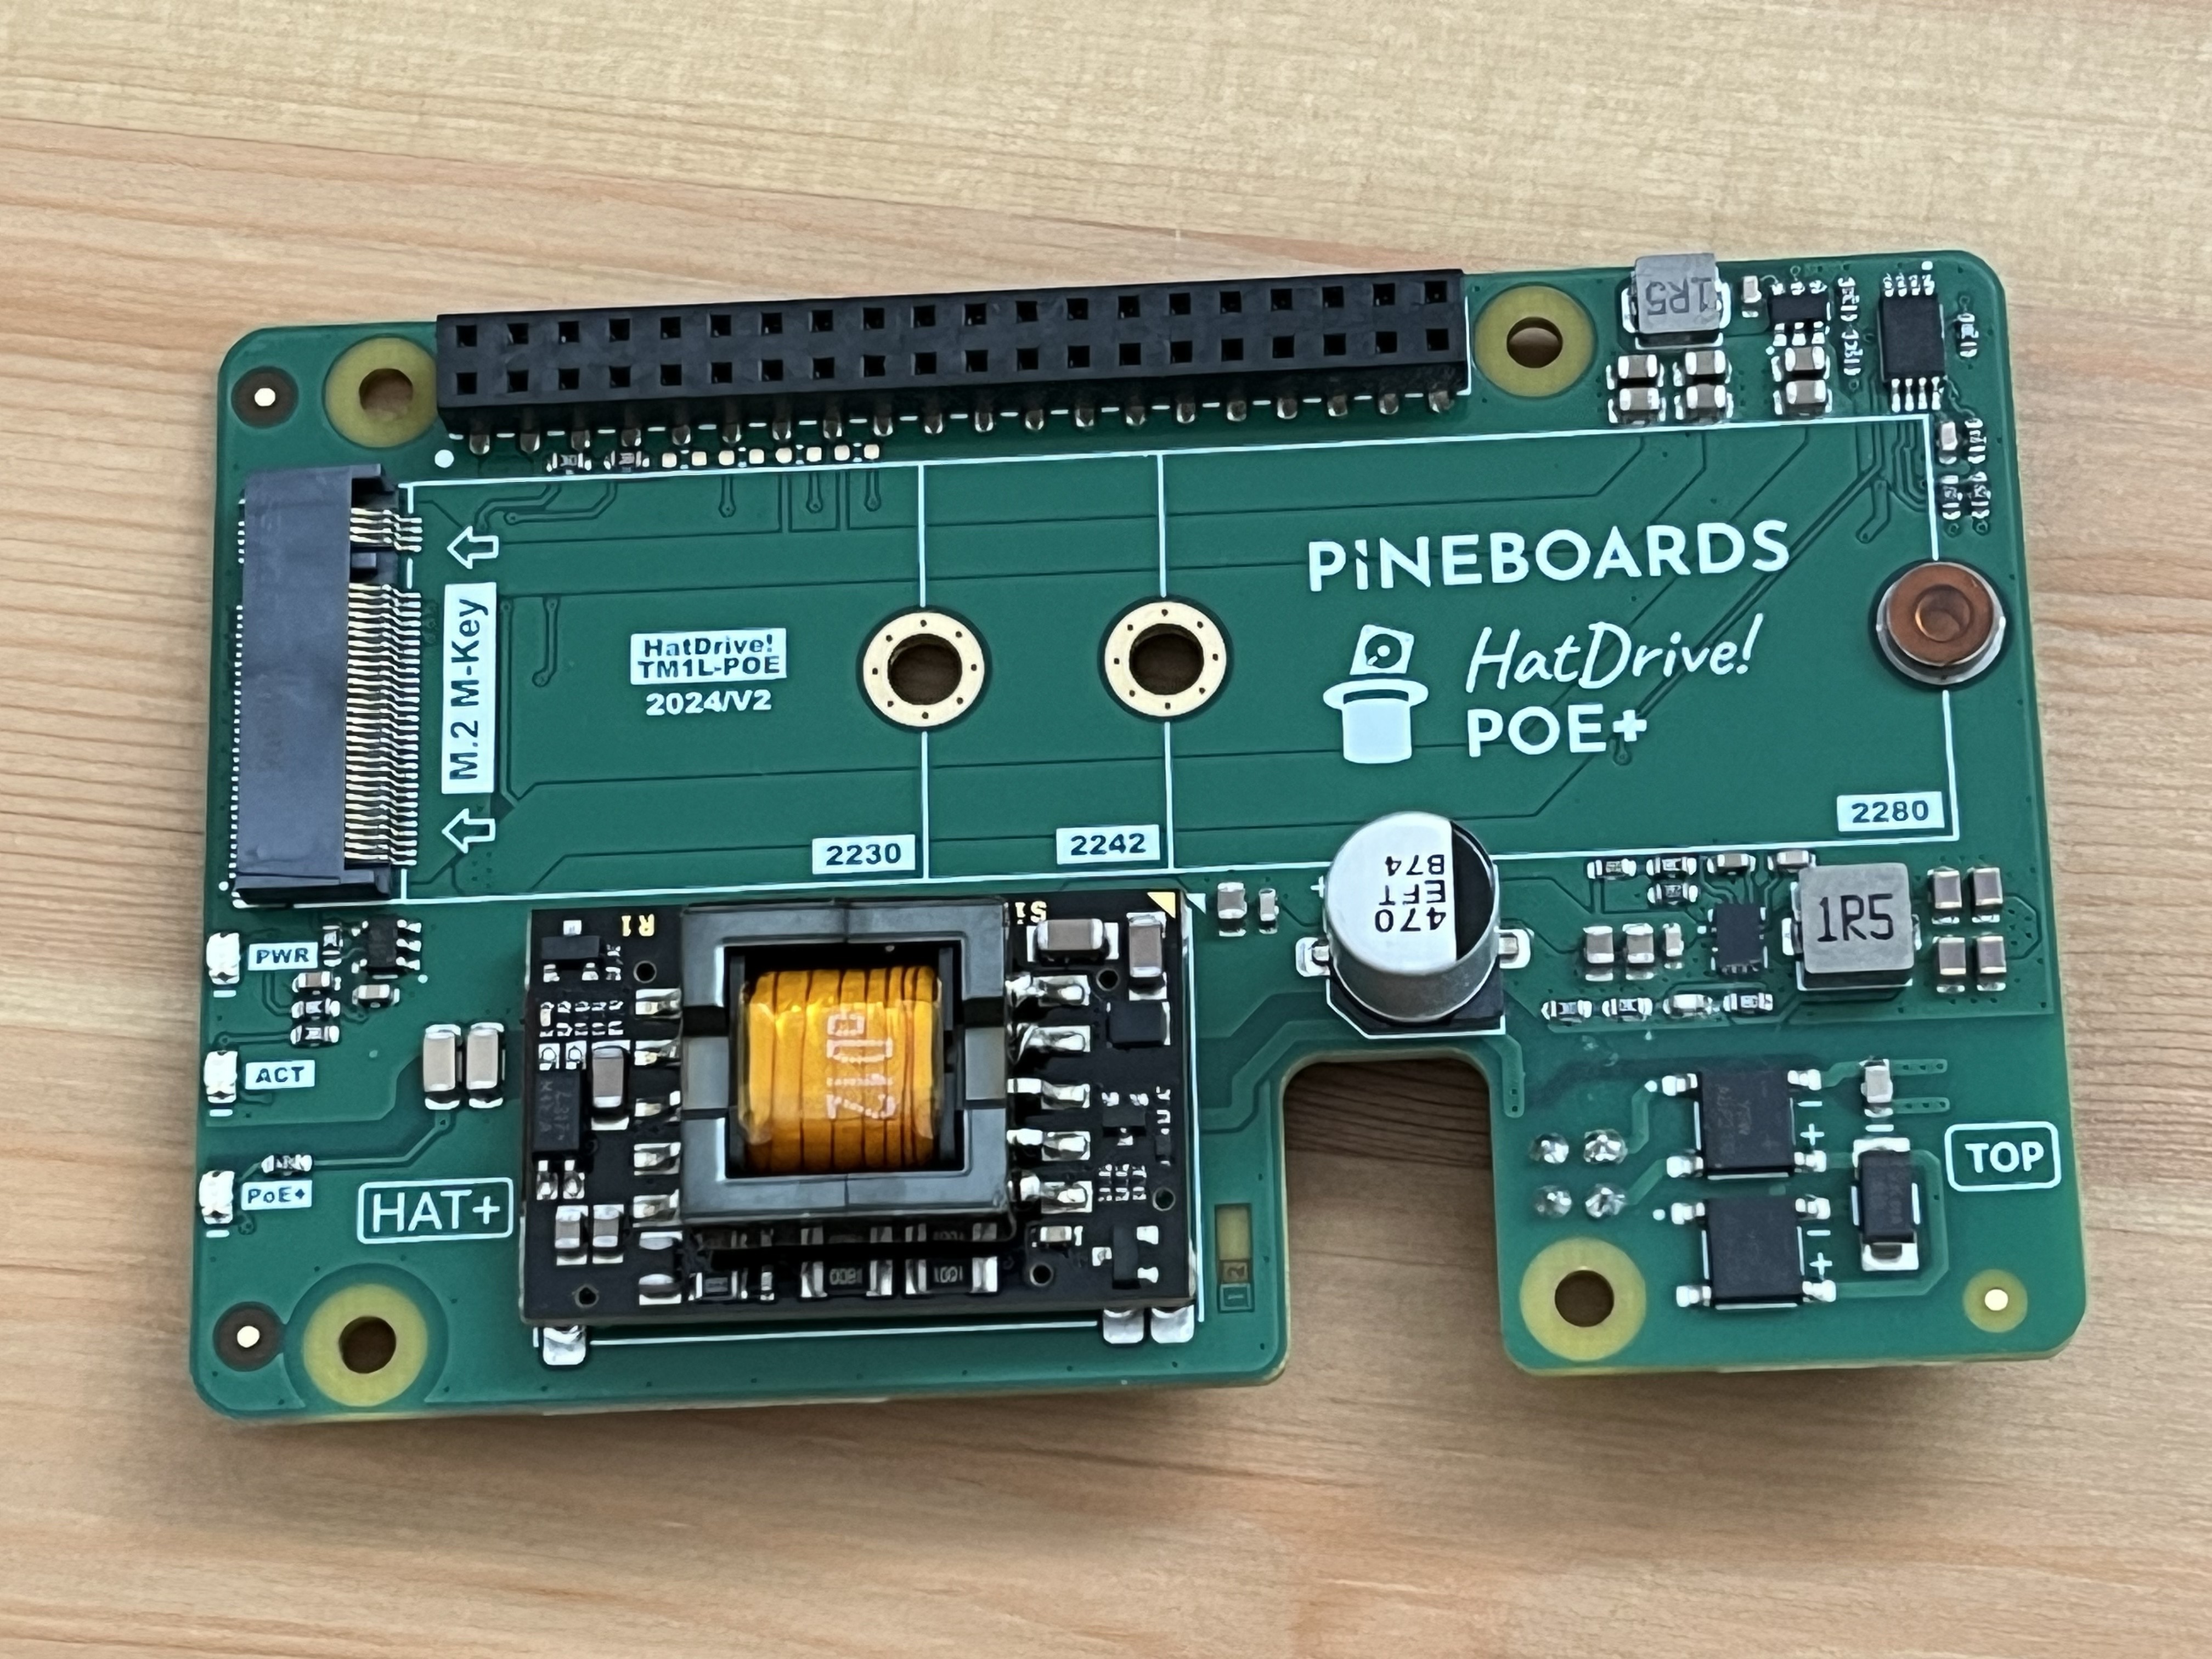
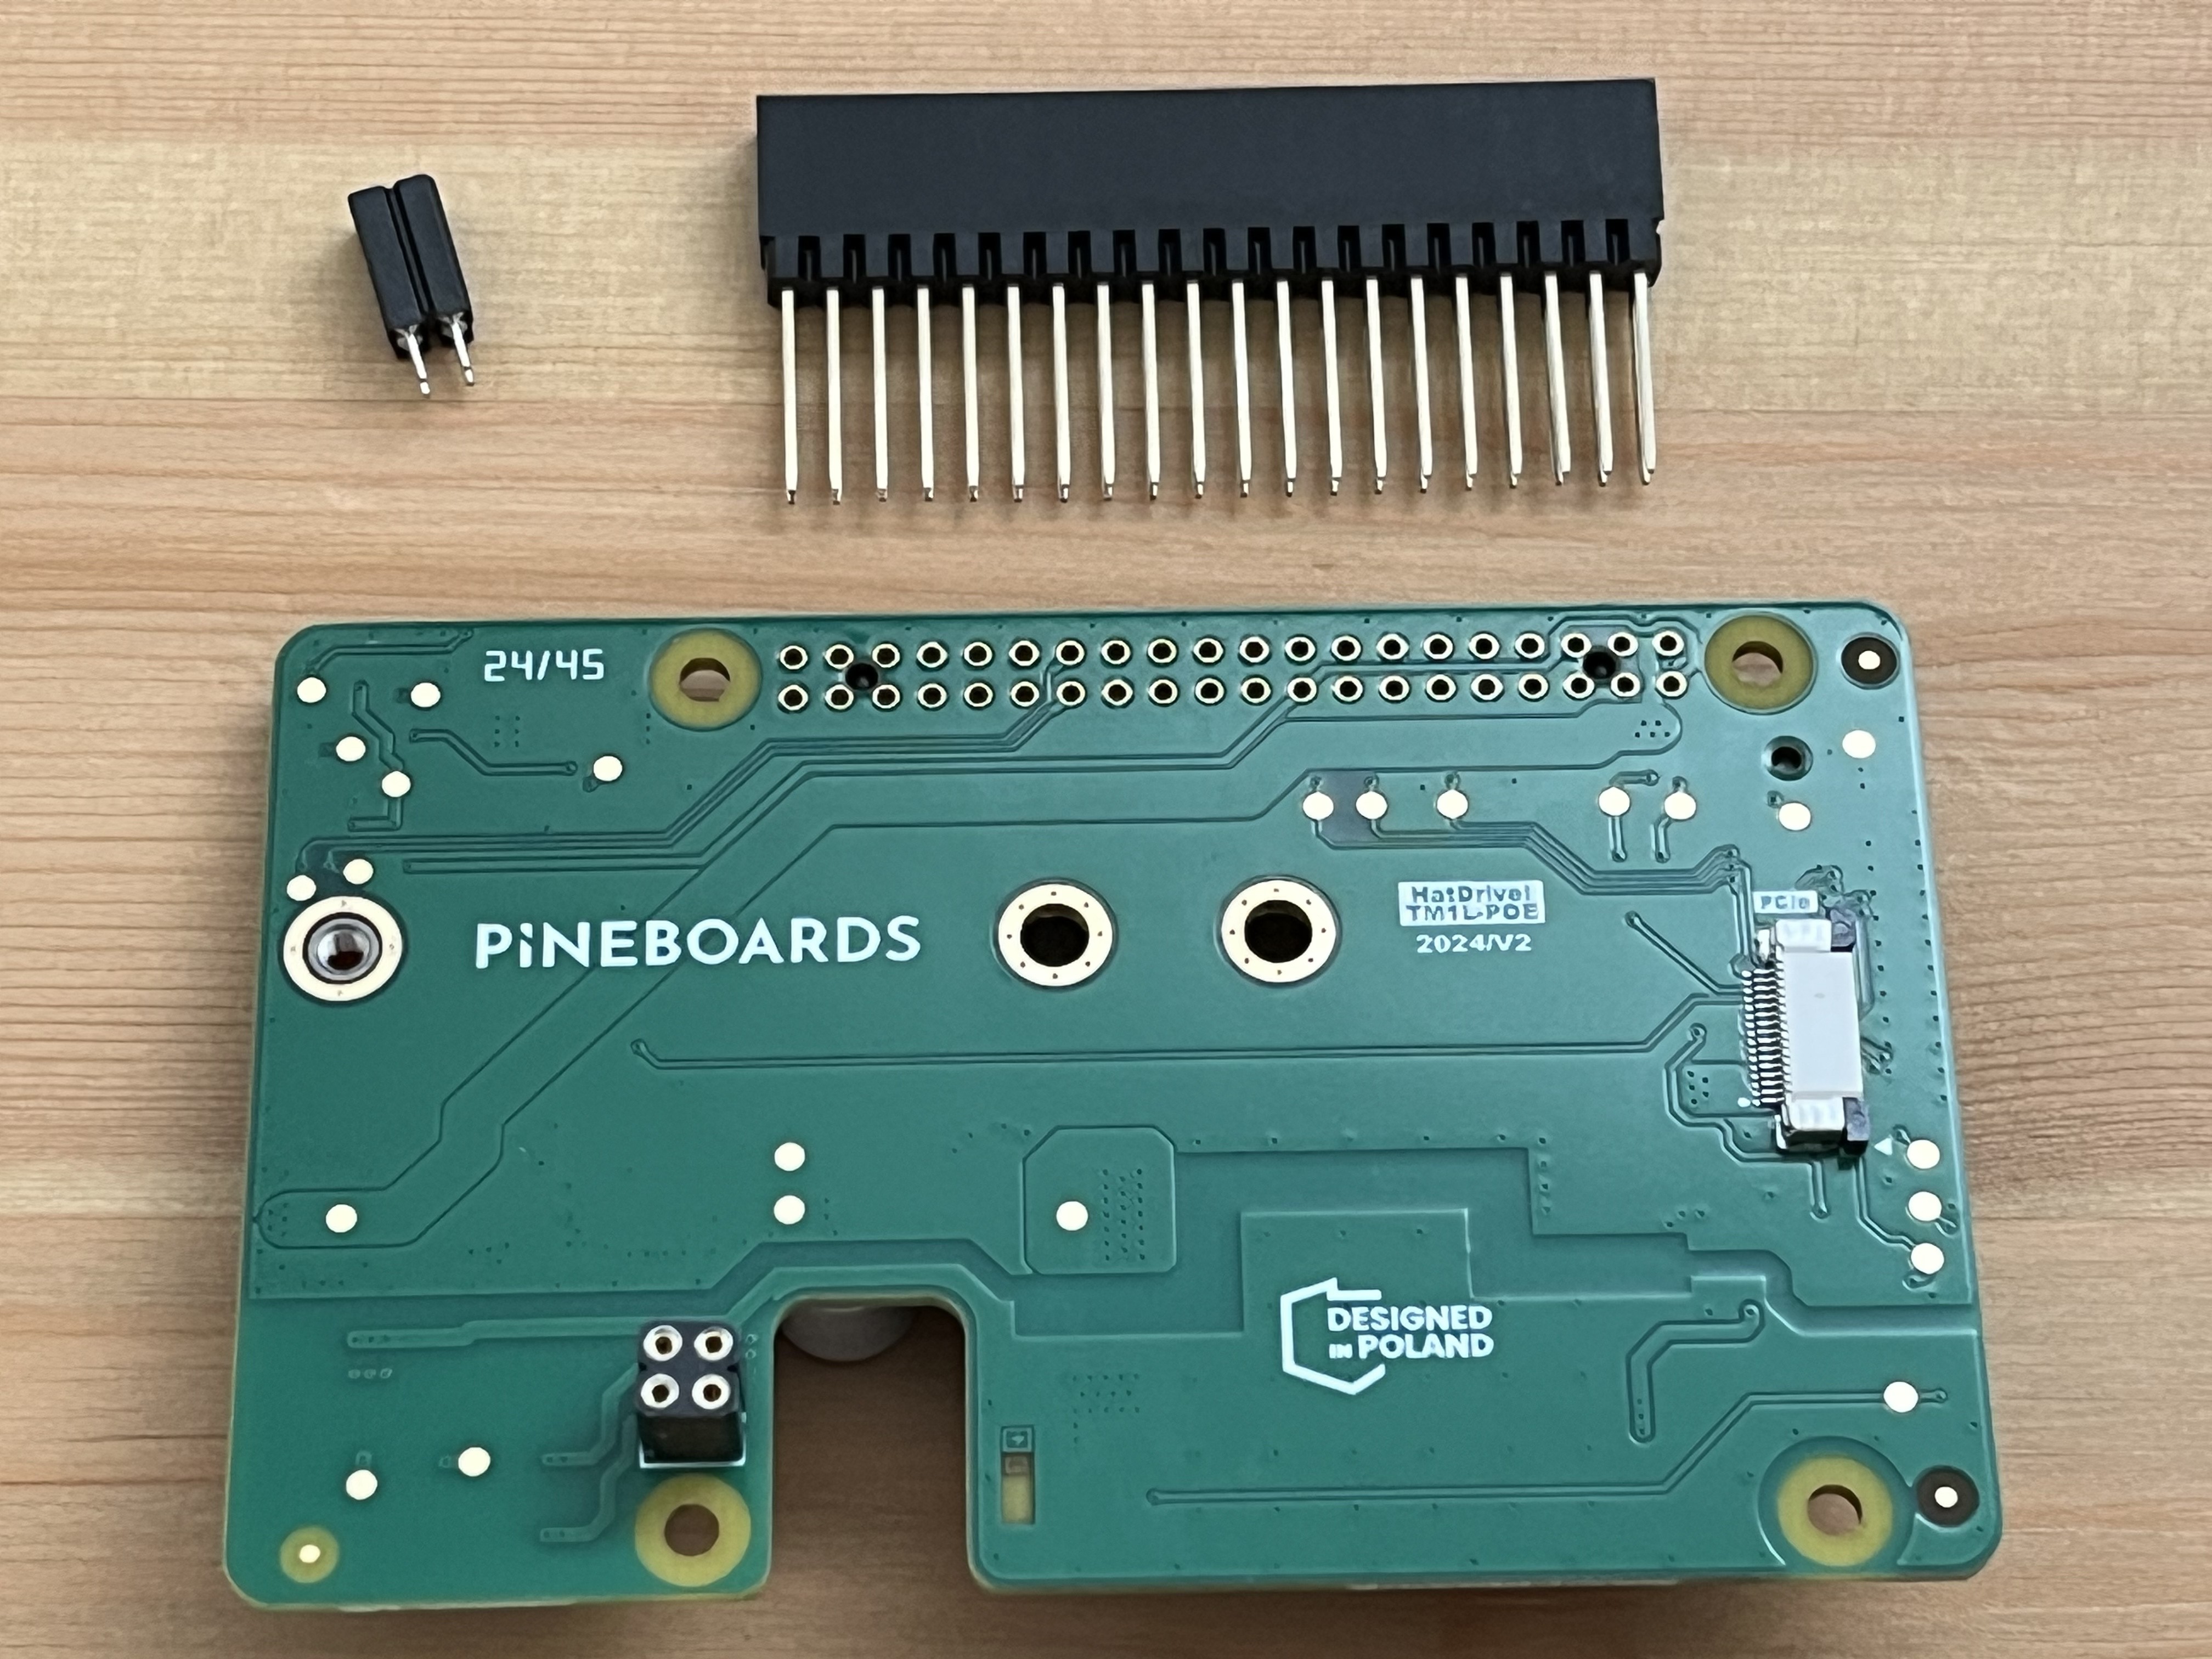
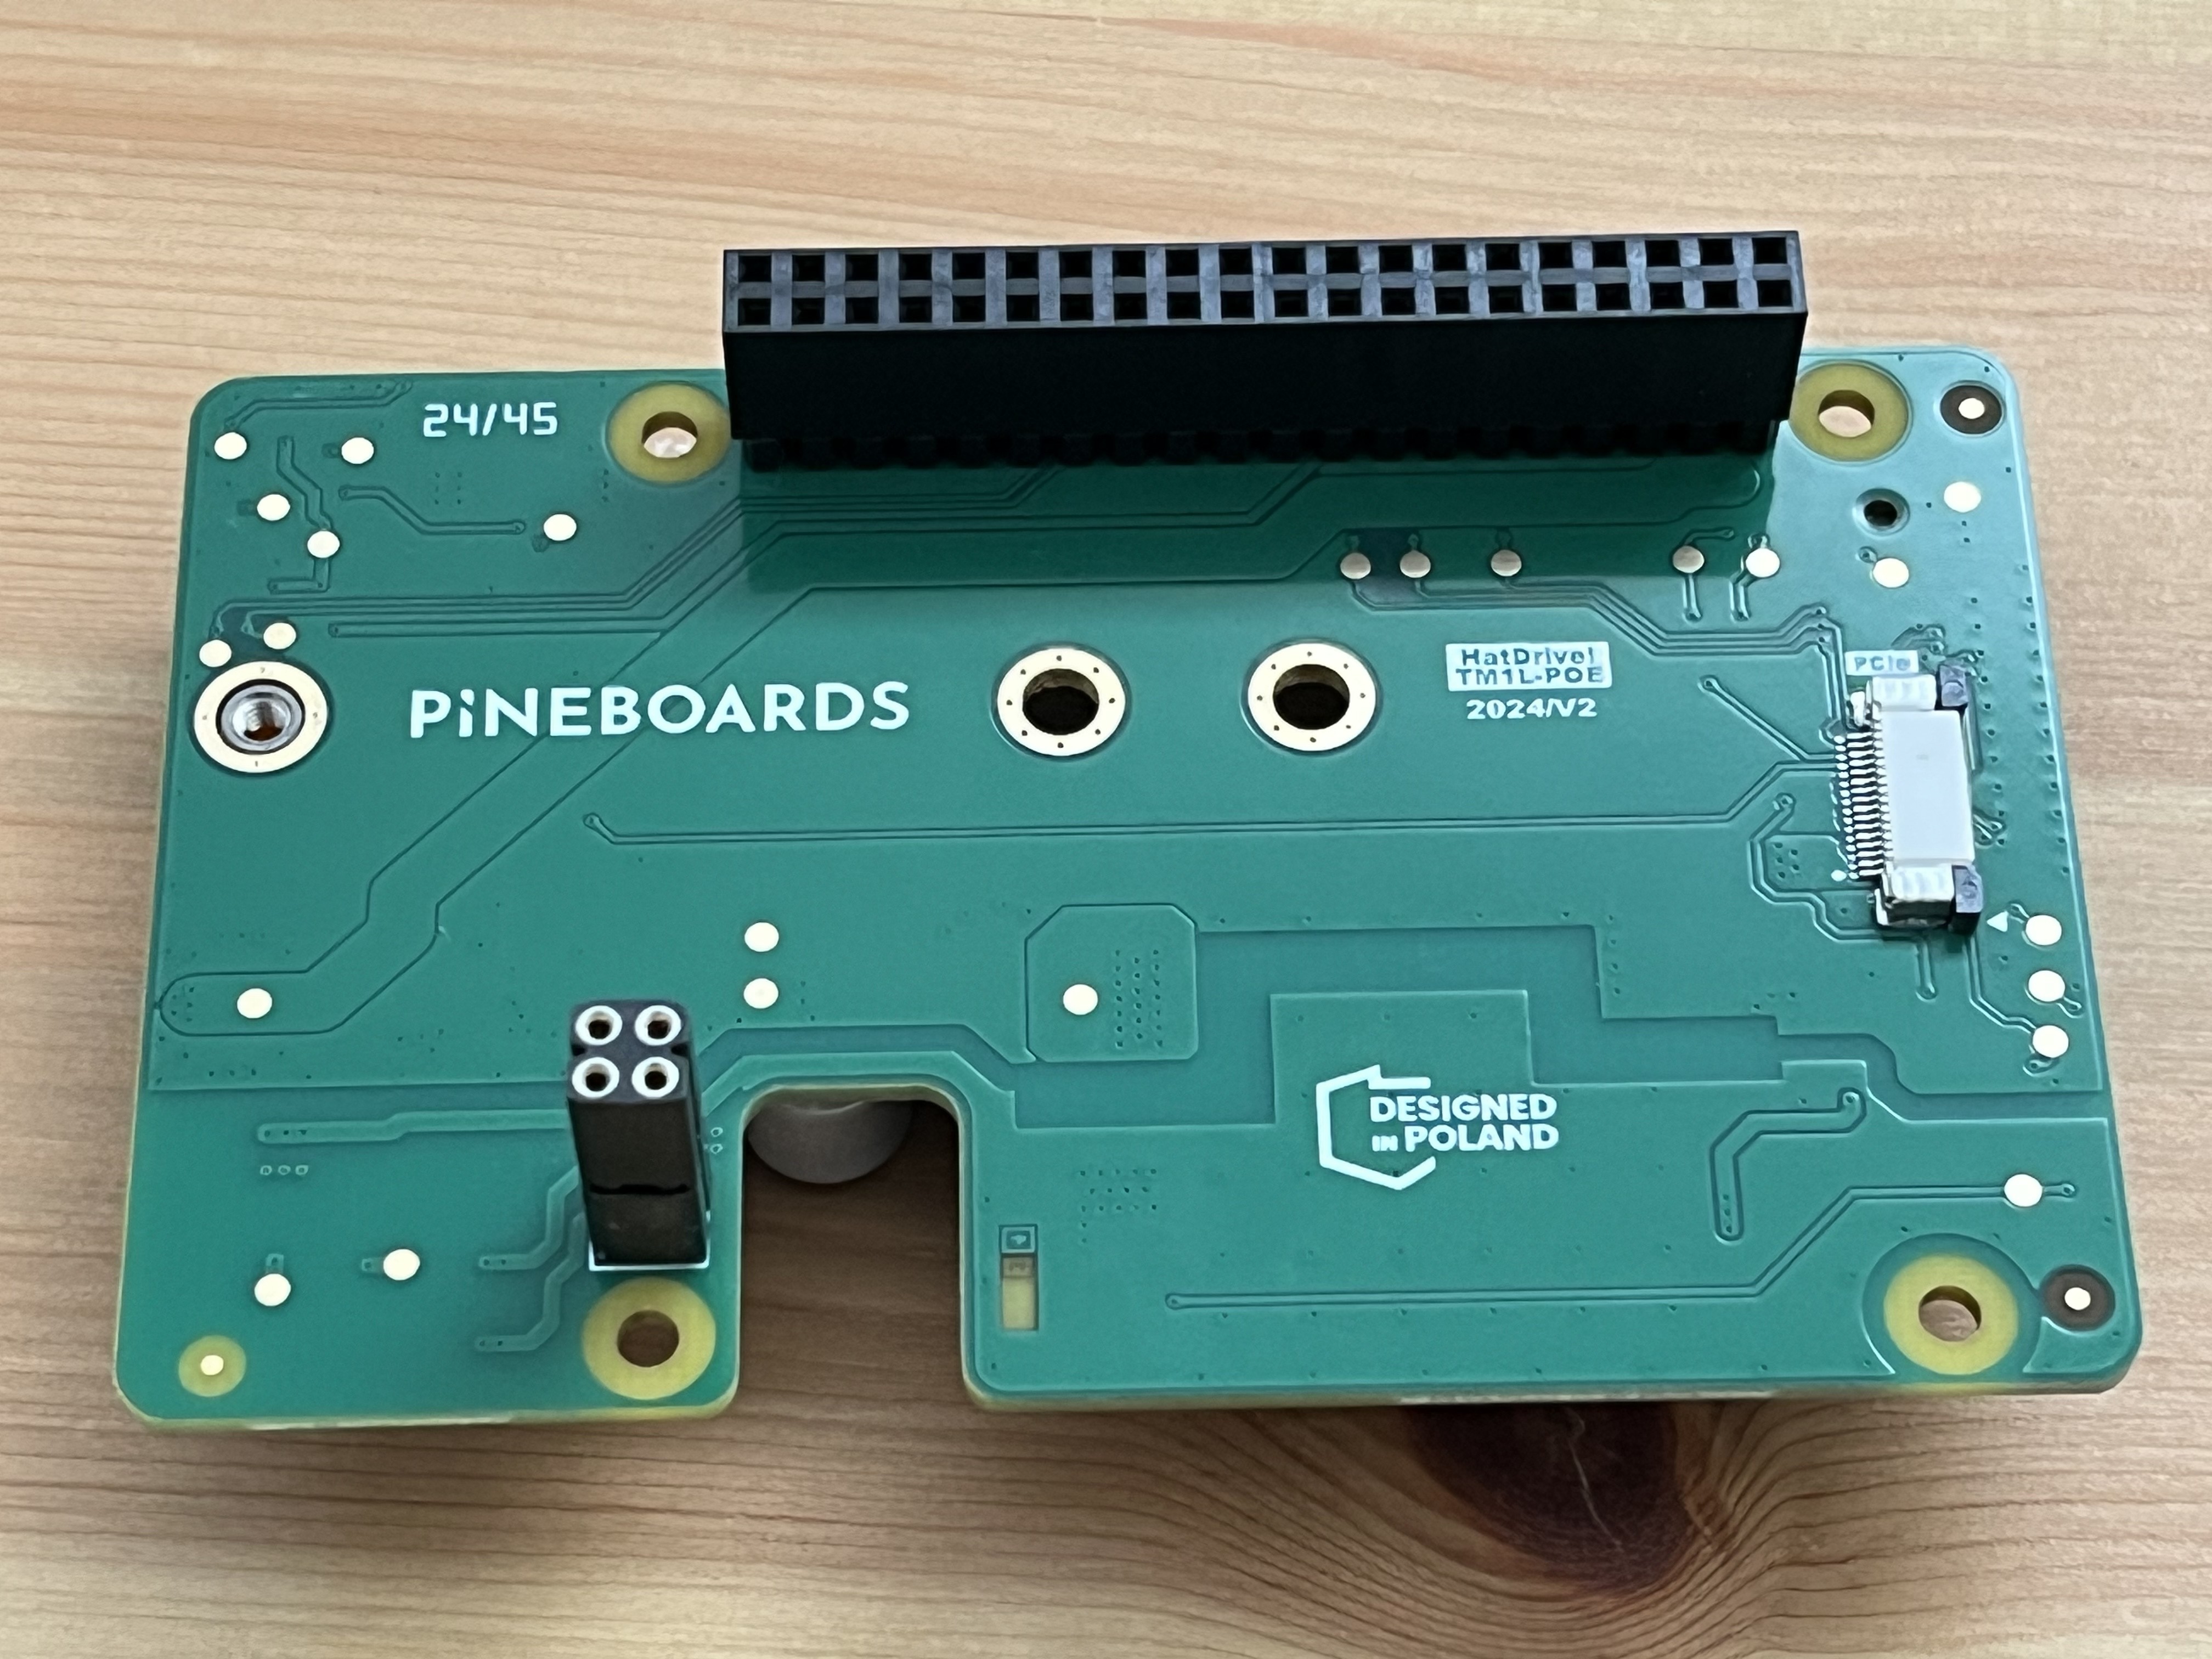
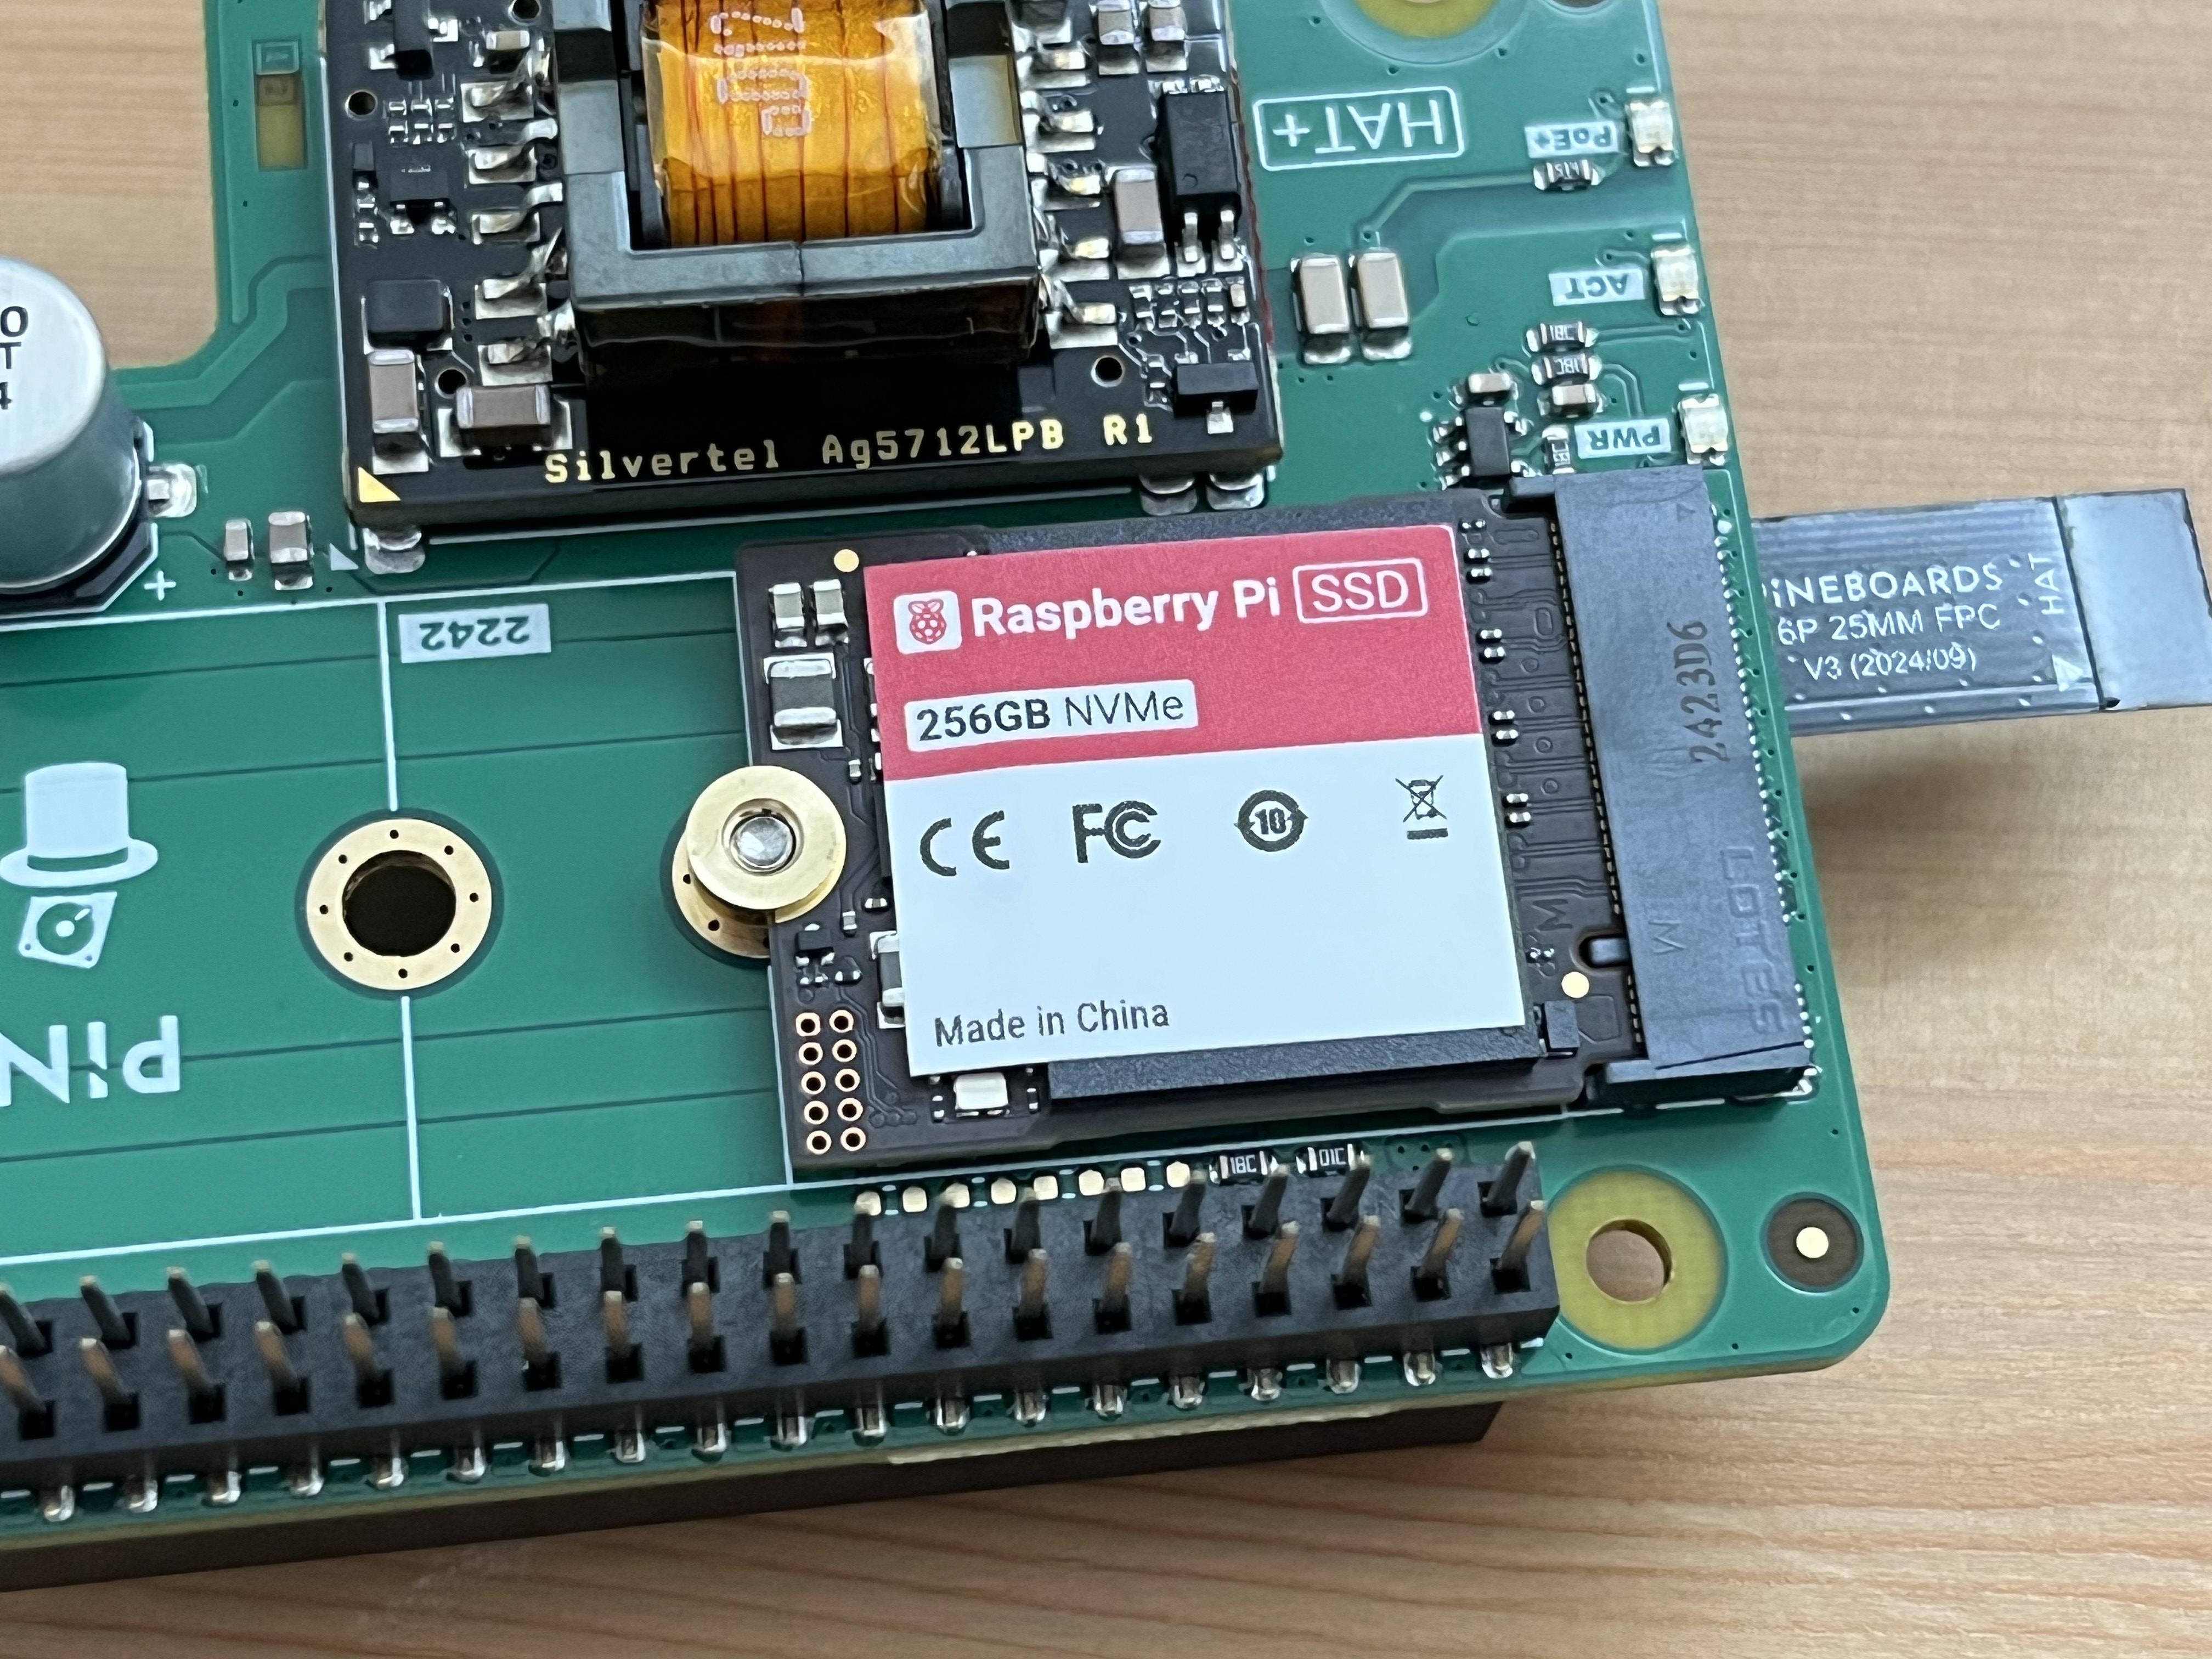
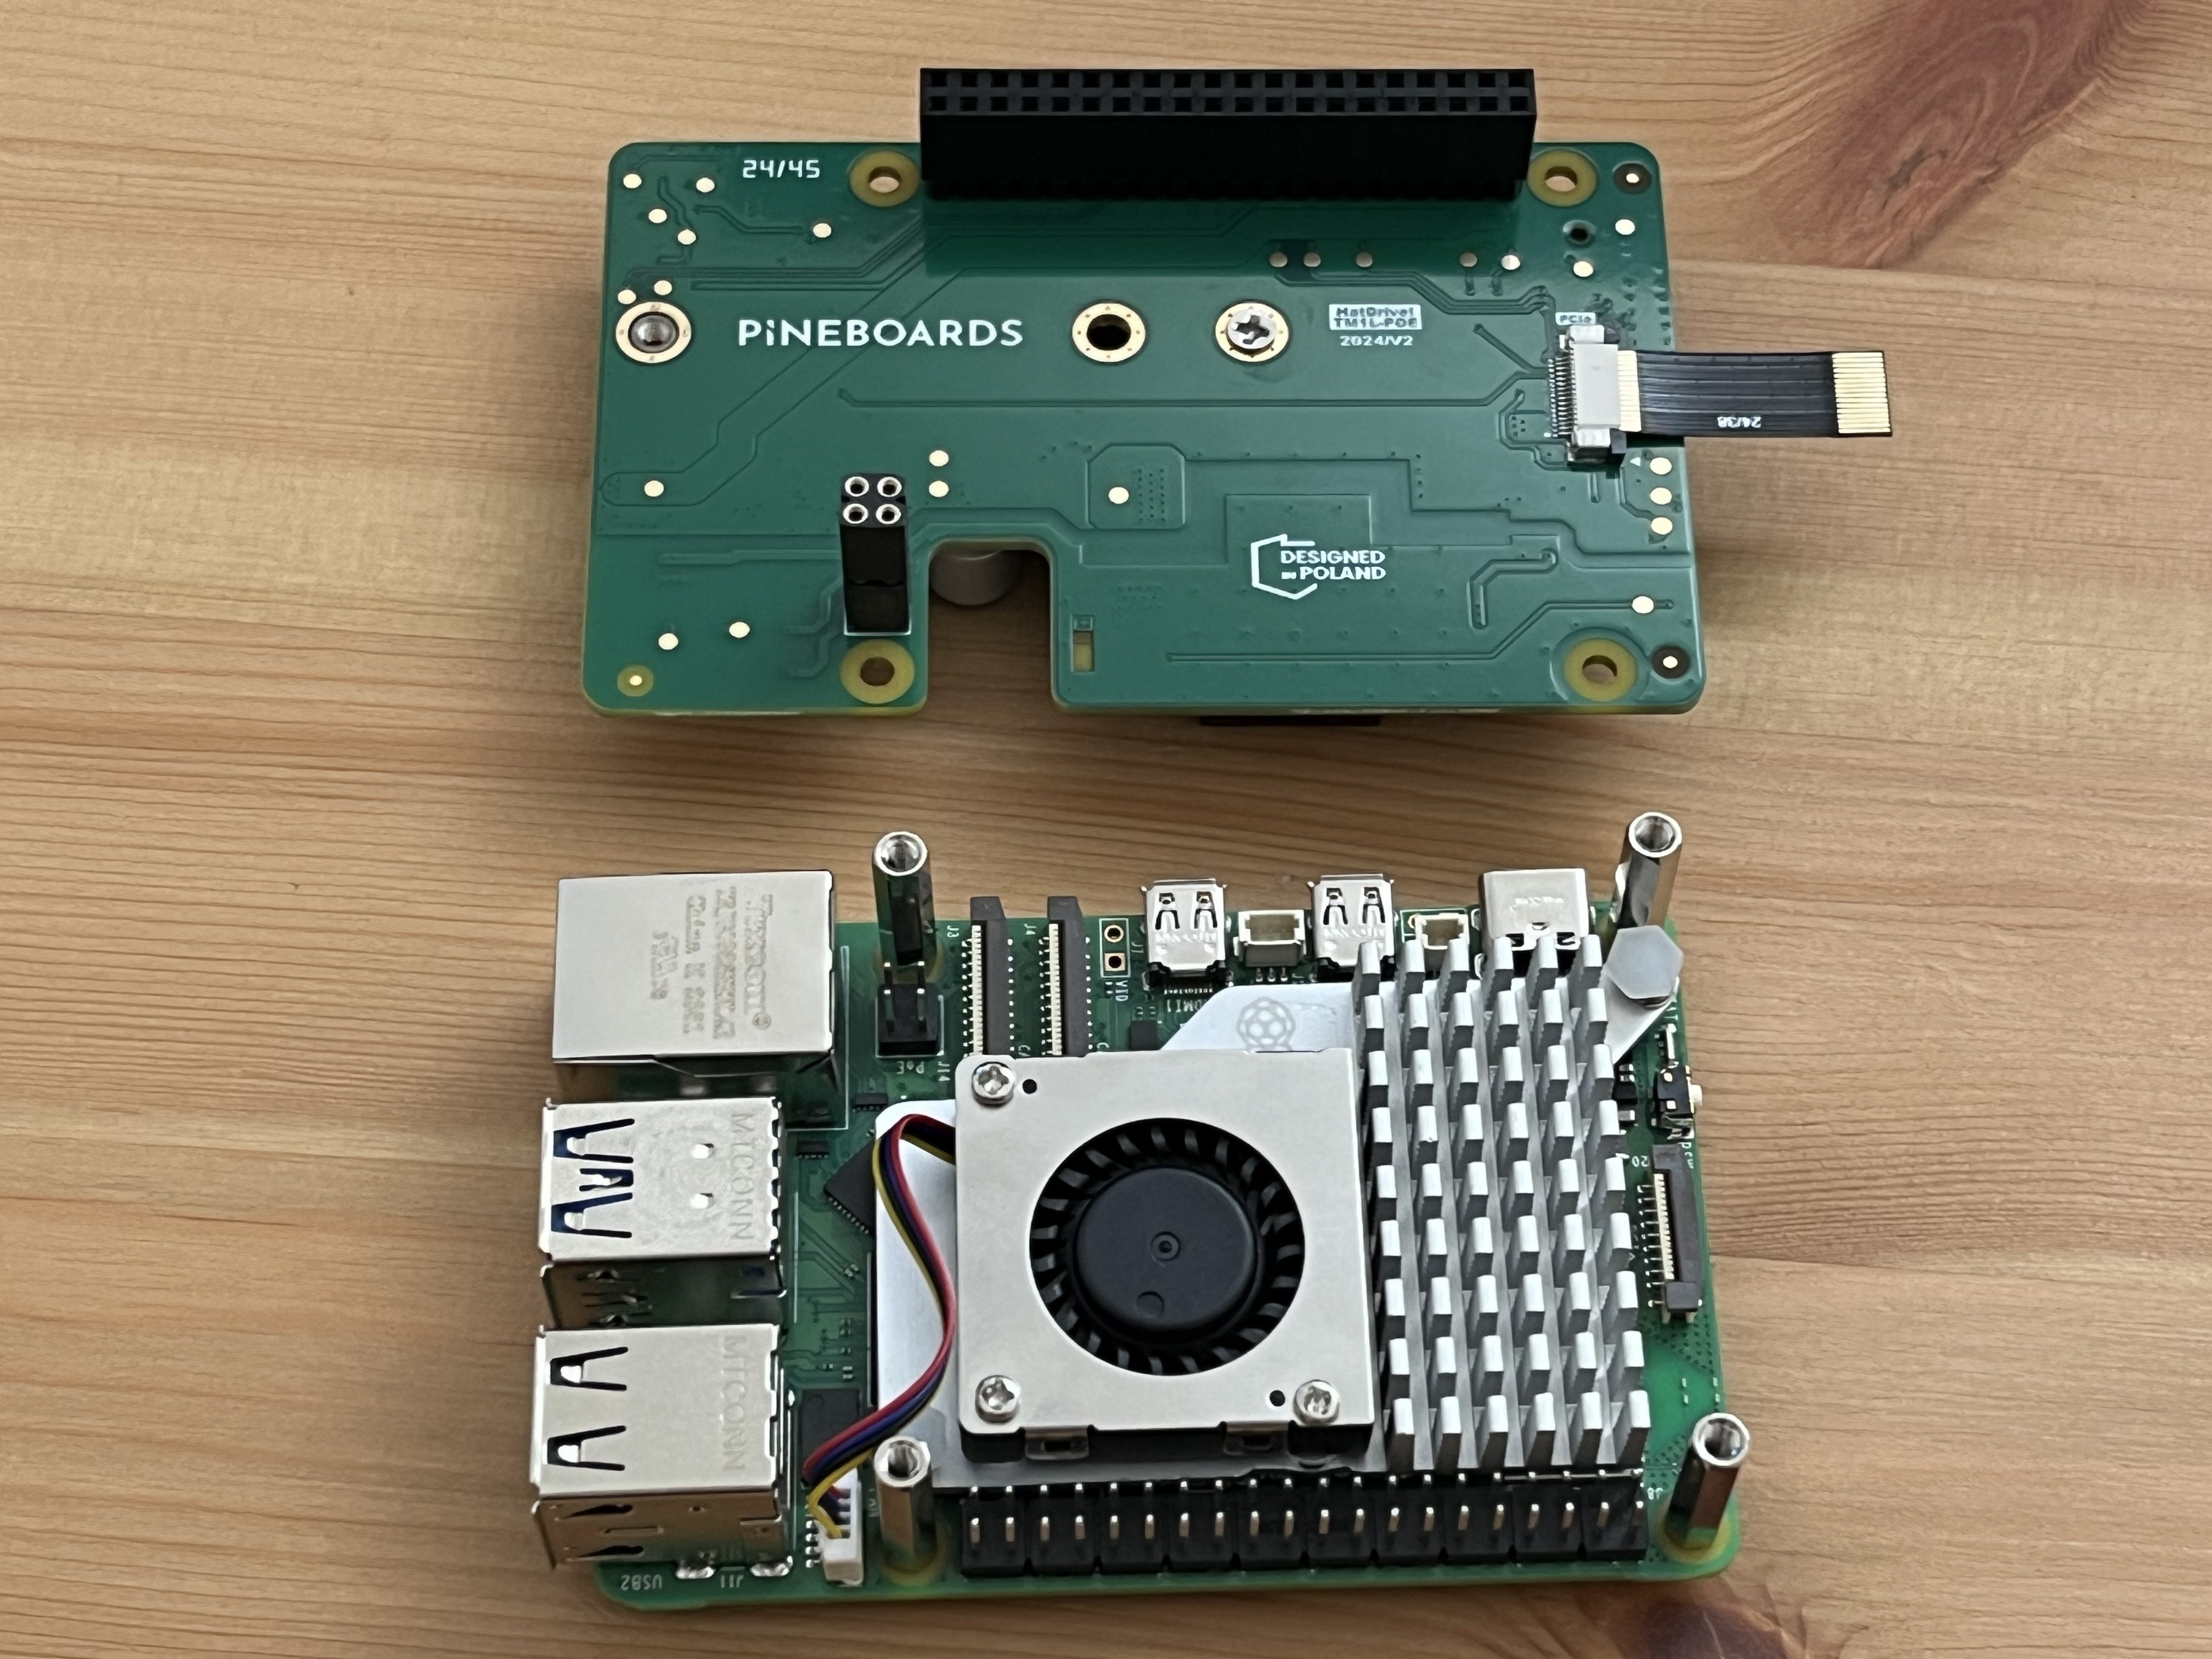
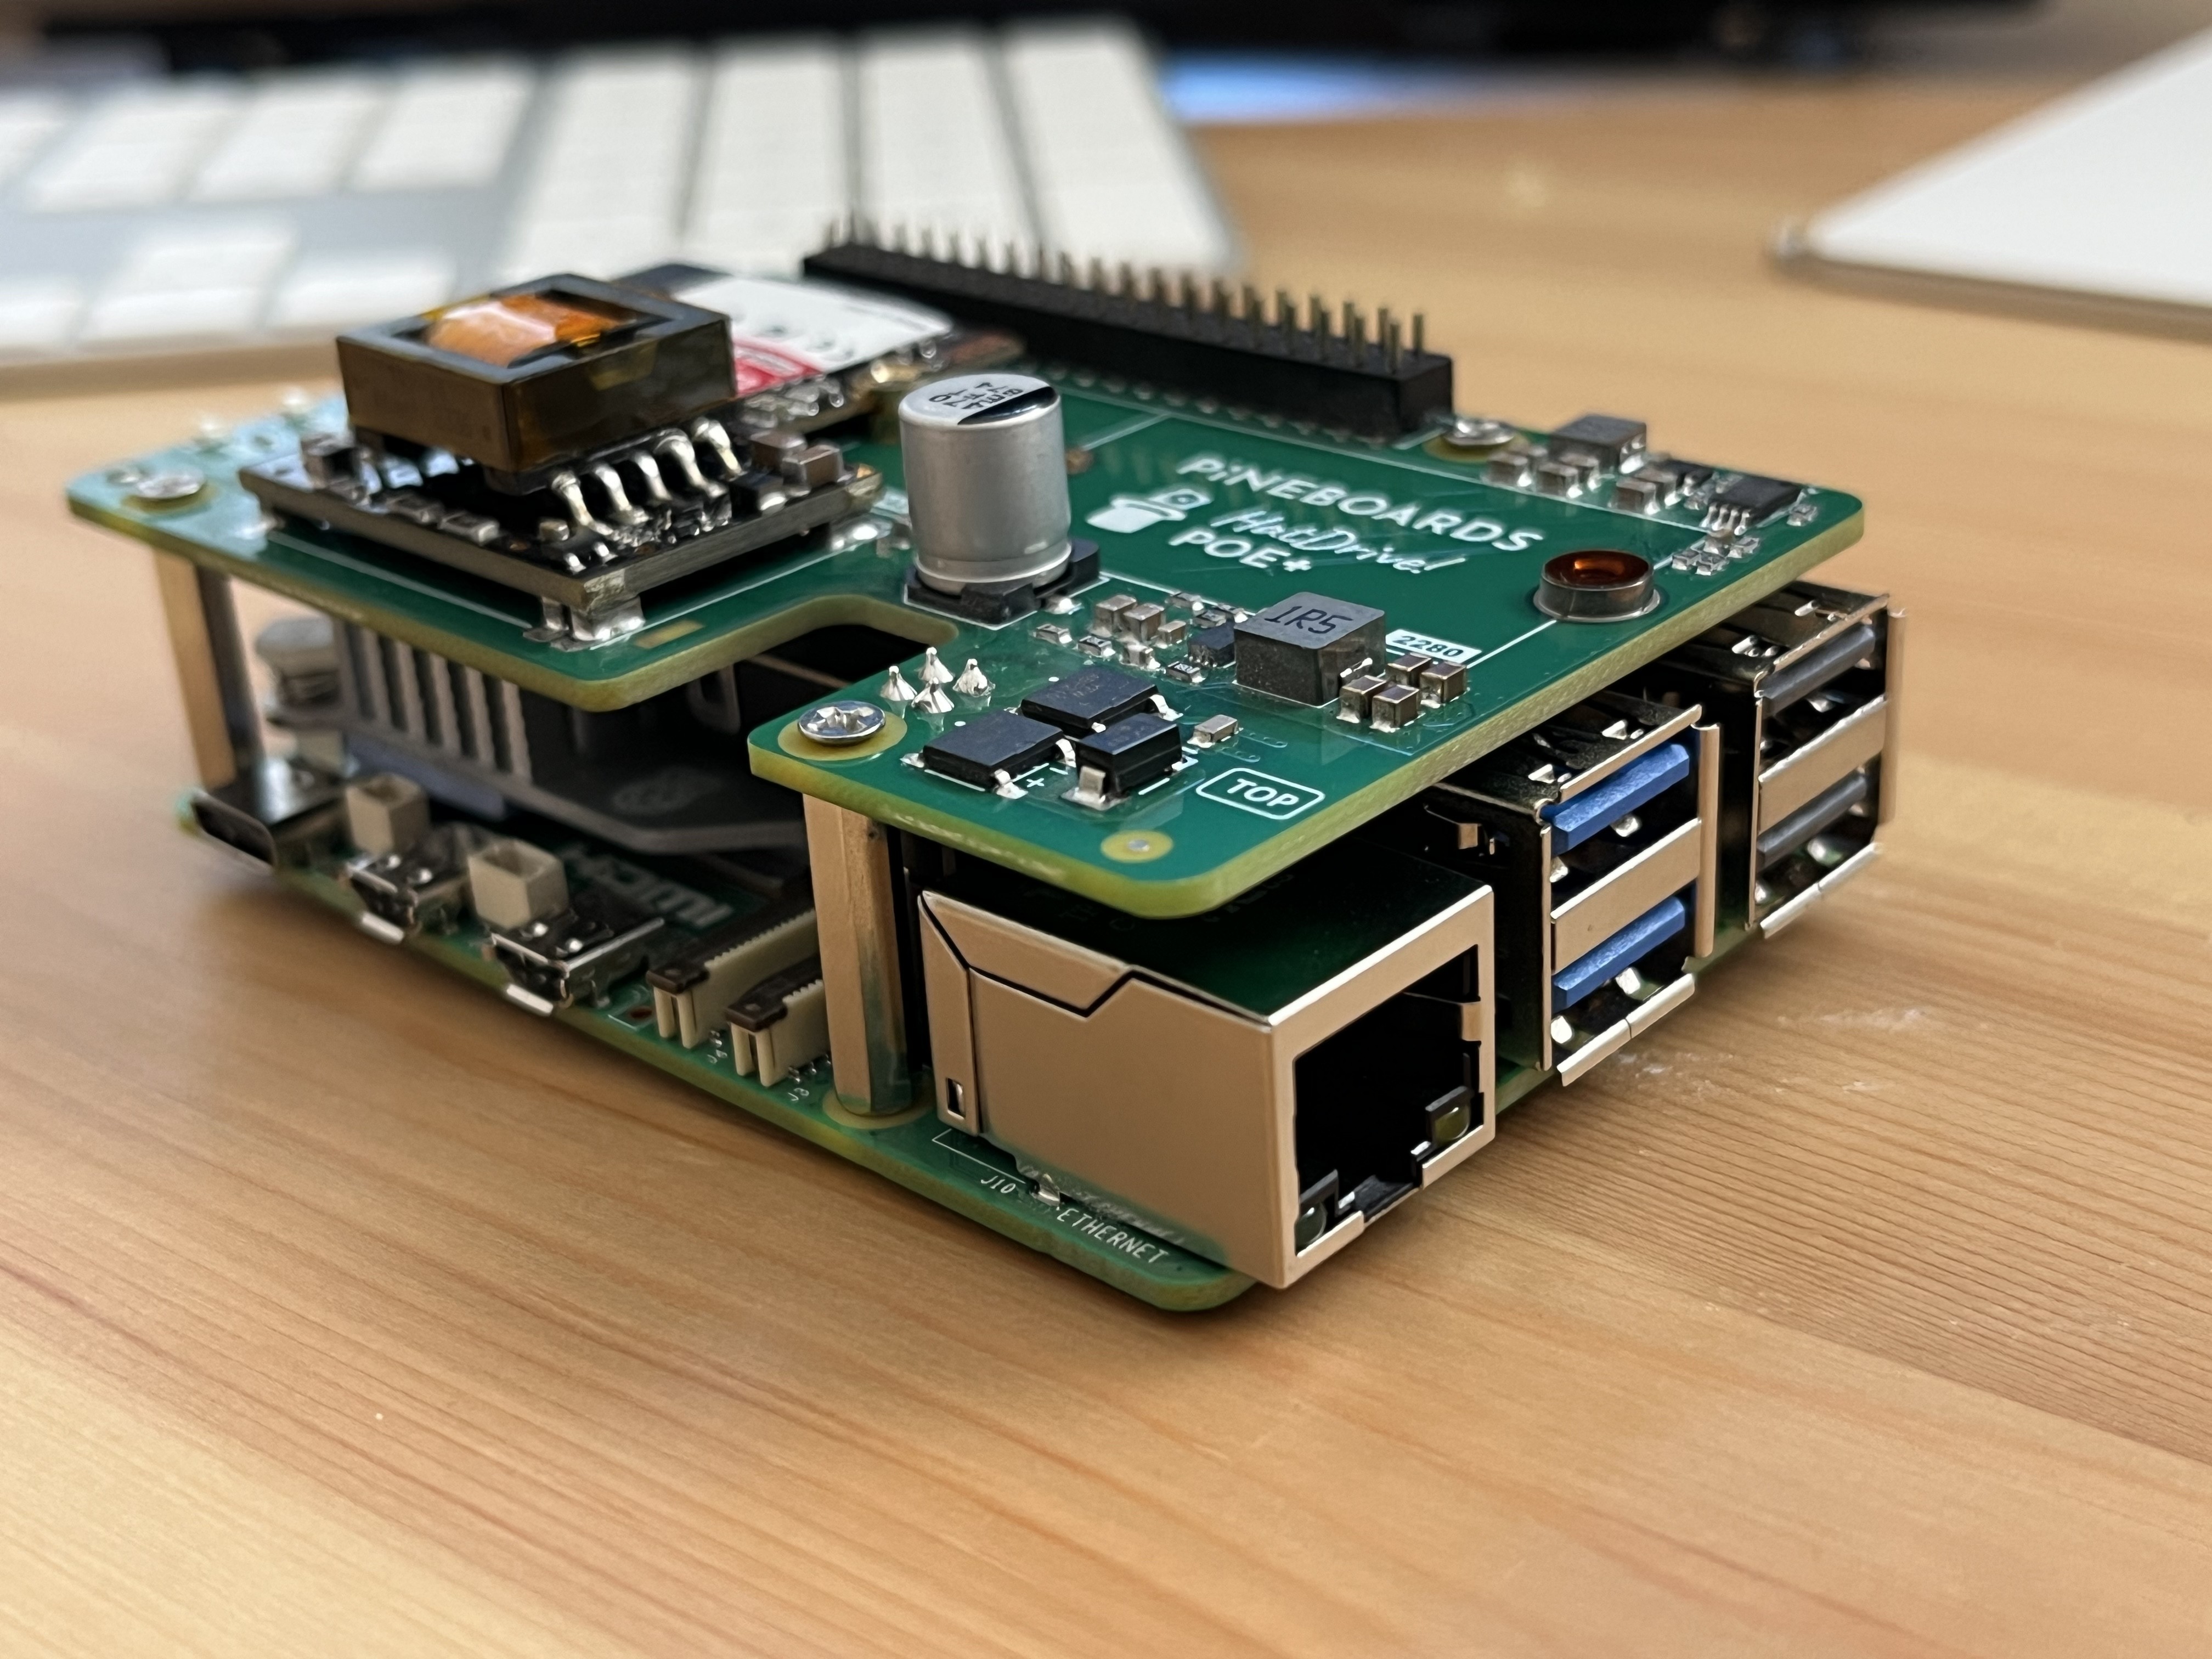
HatDrive! PoE+ for Raspberry Pi 5
The HatDrive provides two features:
- Allowing us to power the Pi5 from POE+ - A huge win for those of you with homelabs.
- Allowing us to attach an NVMe SSD
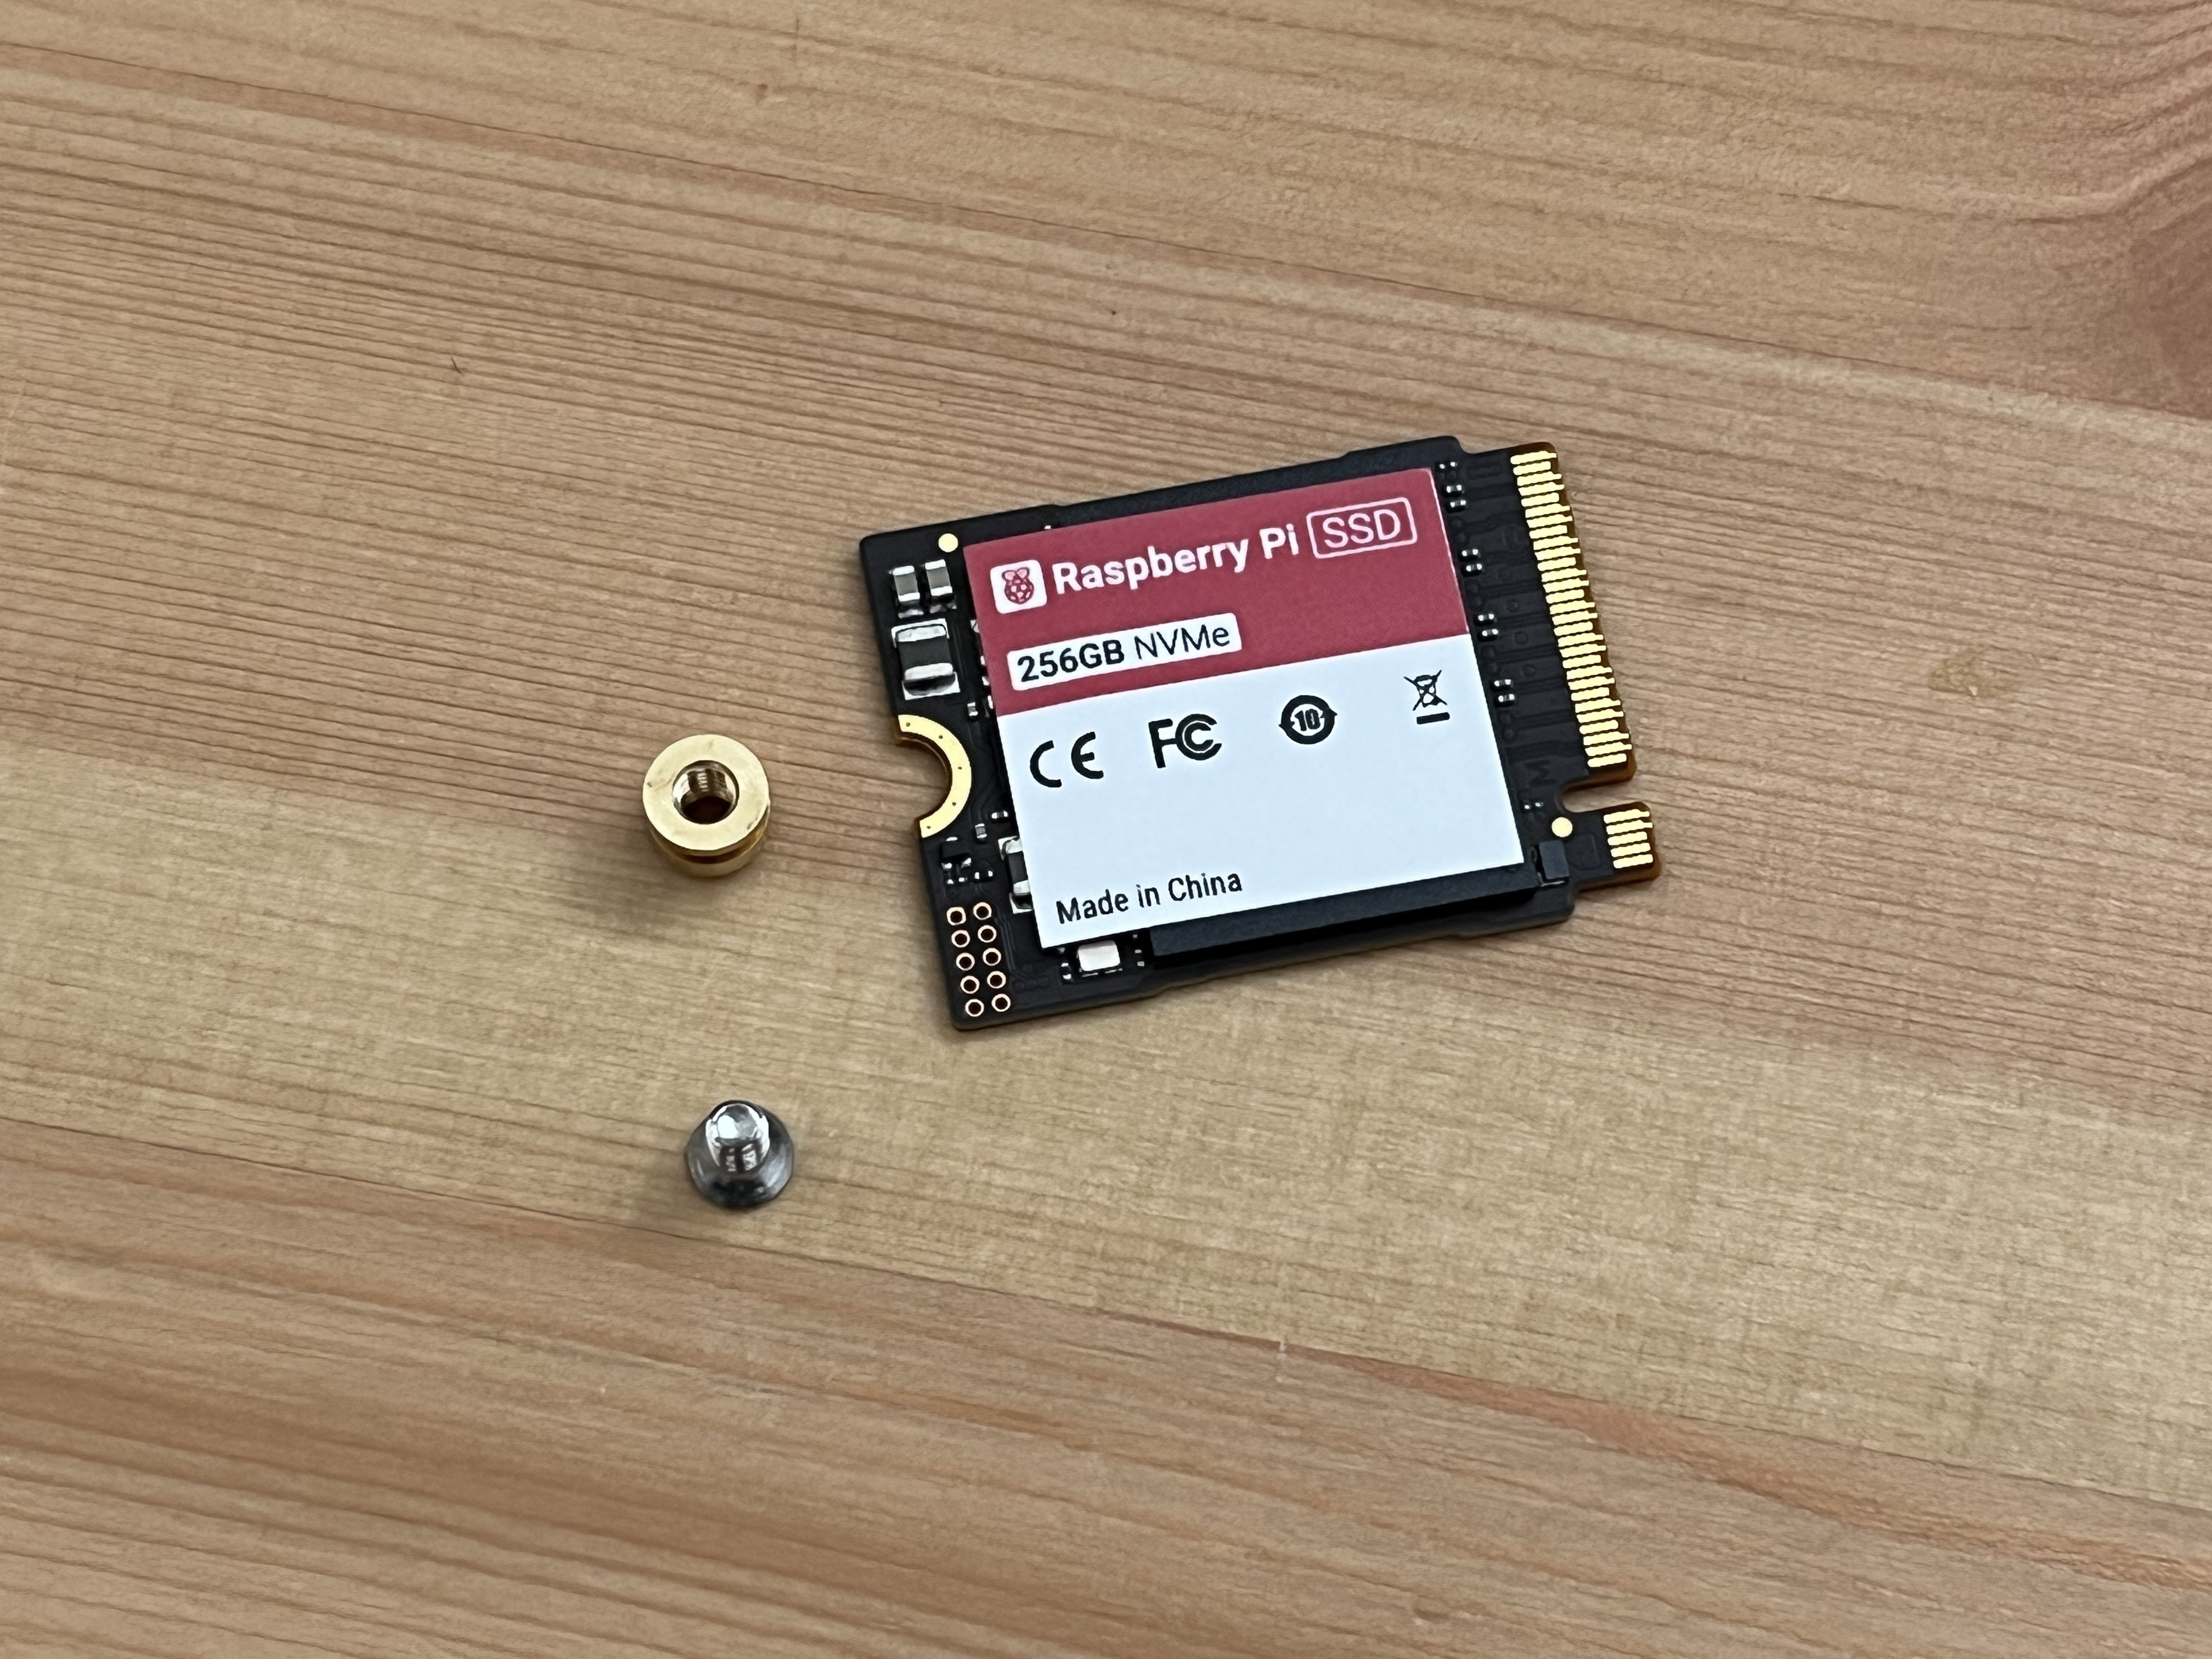
Raspberry Pi NVMe SSD
This is my favourite Raspberry Pi upgrade. Being able to use an NVMe SSD drive massively increases performance and durabilty compared to running from a MicroSD card.
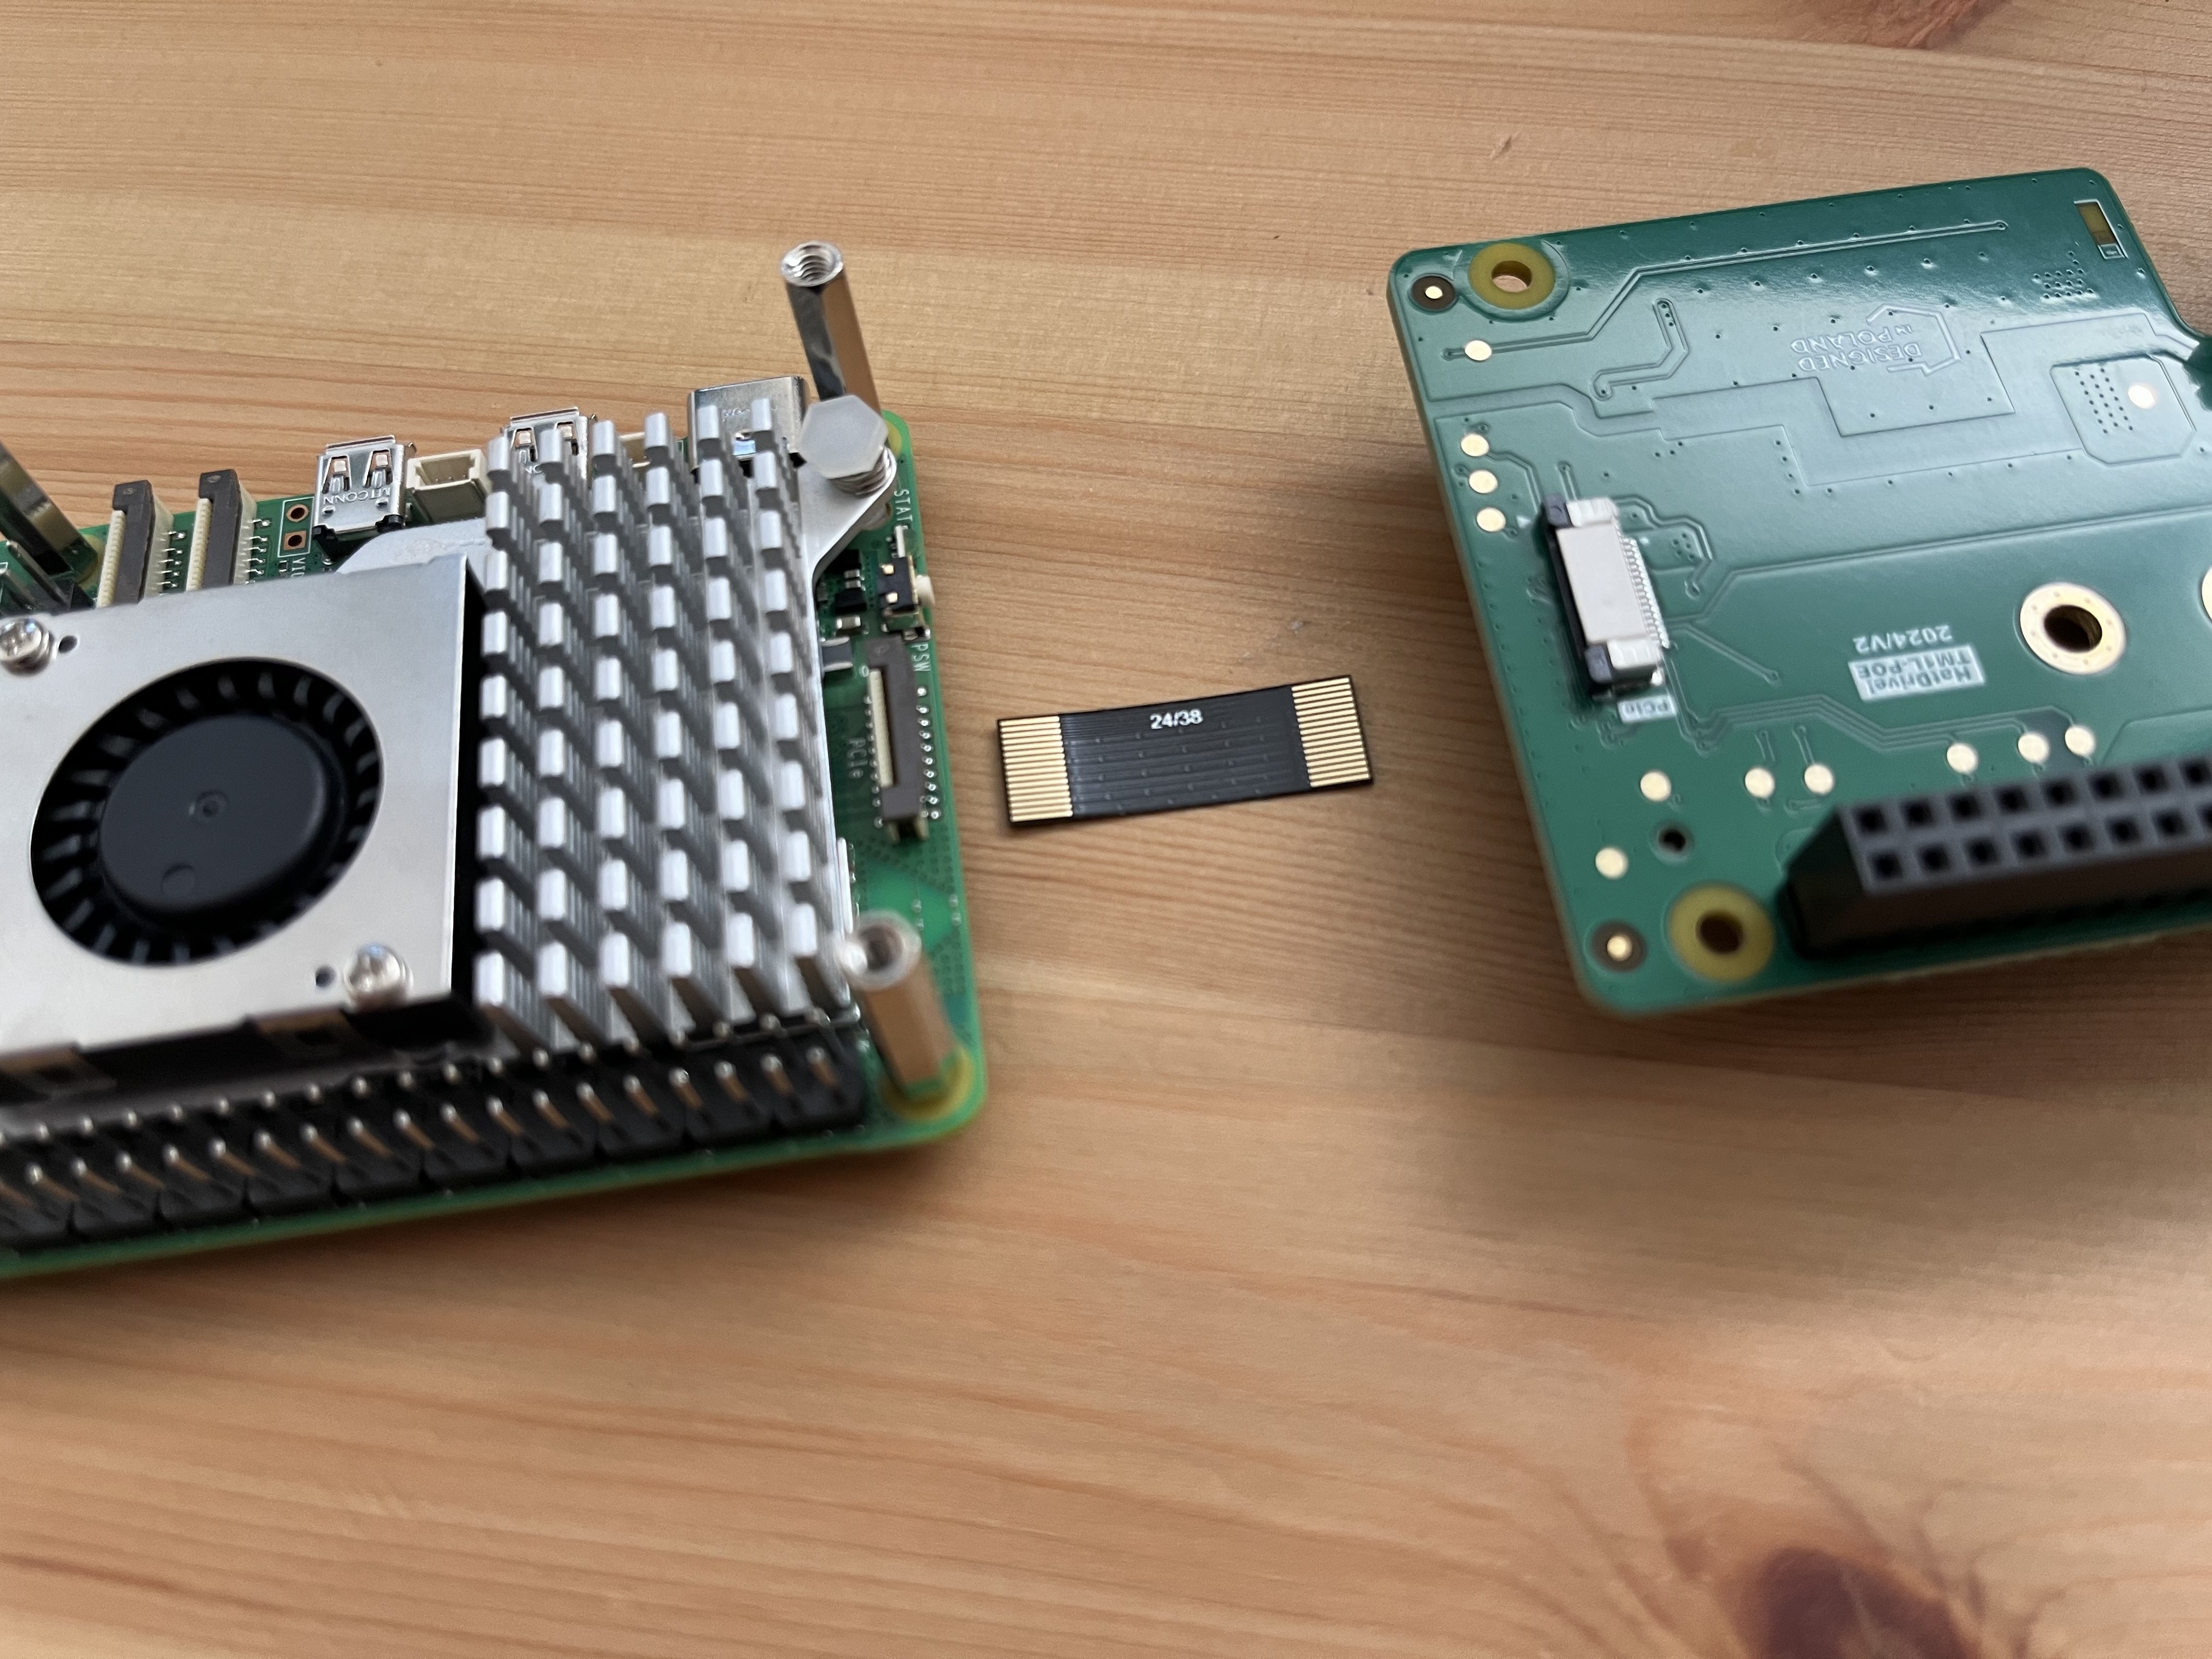
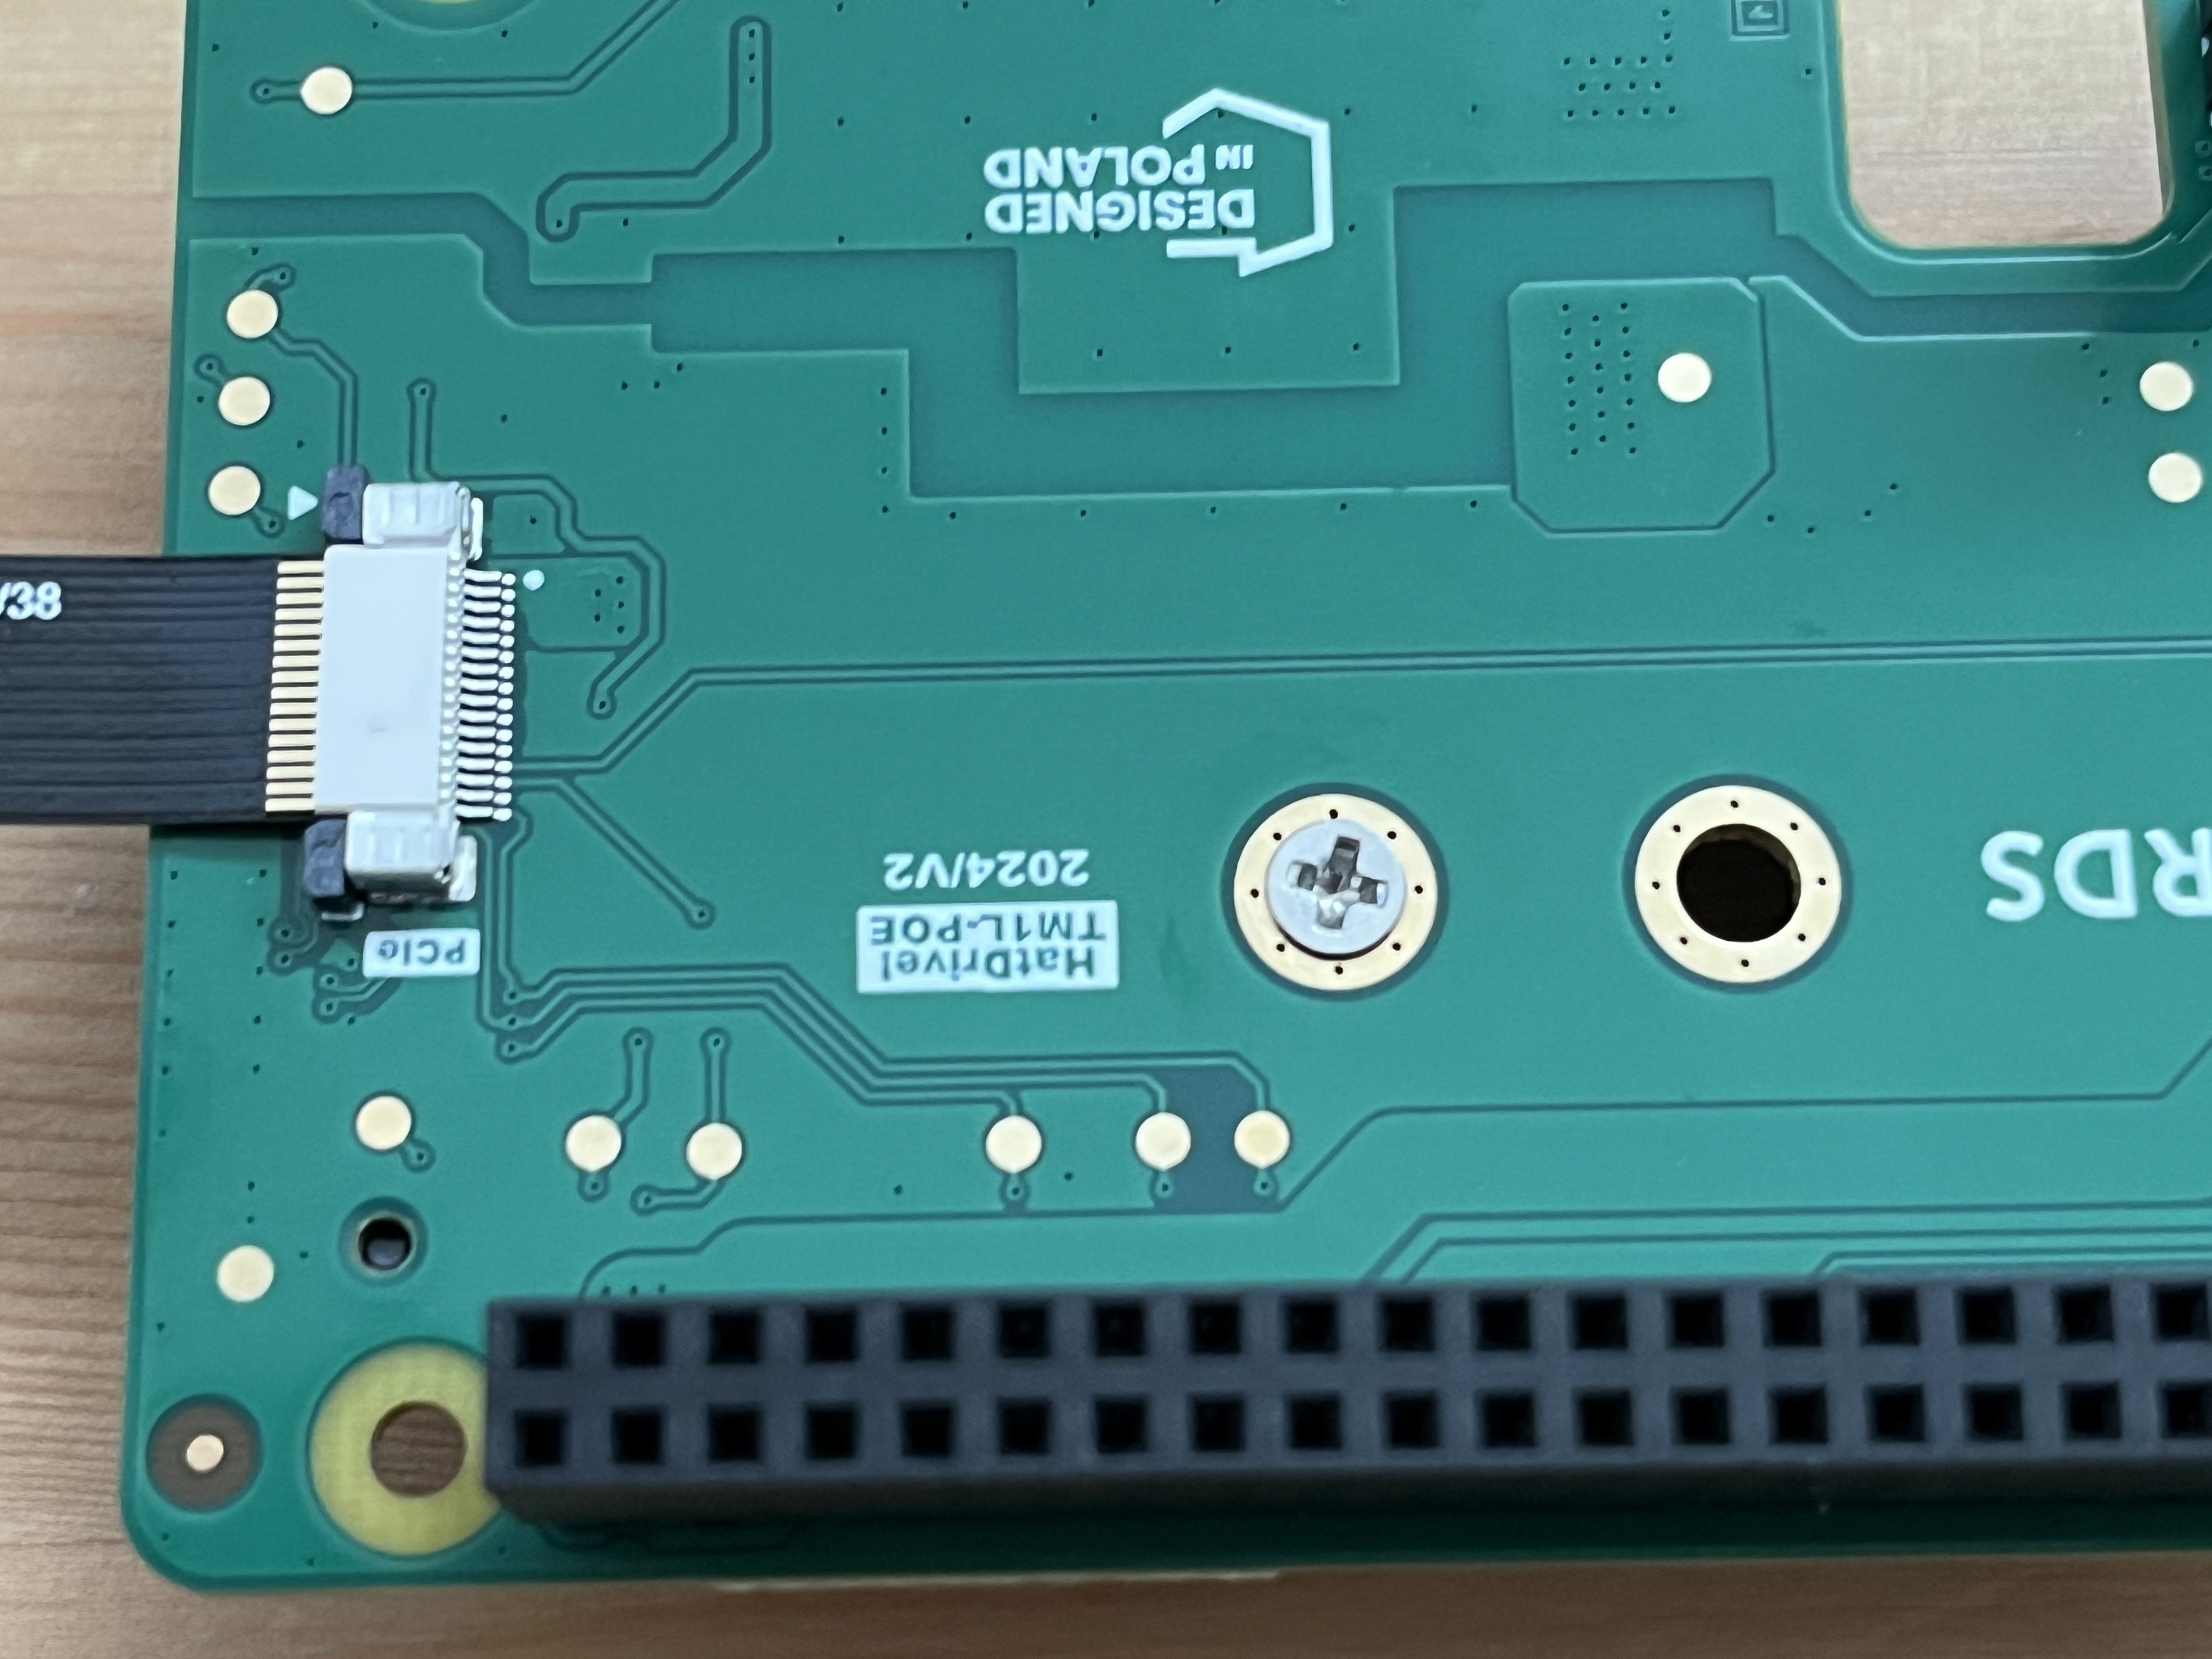
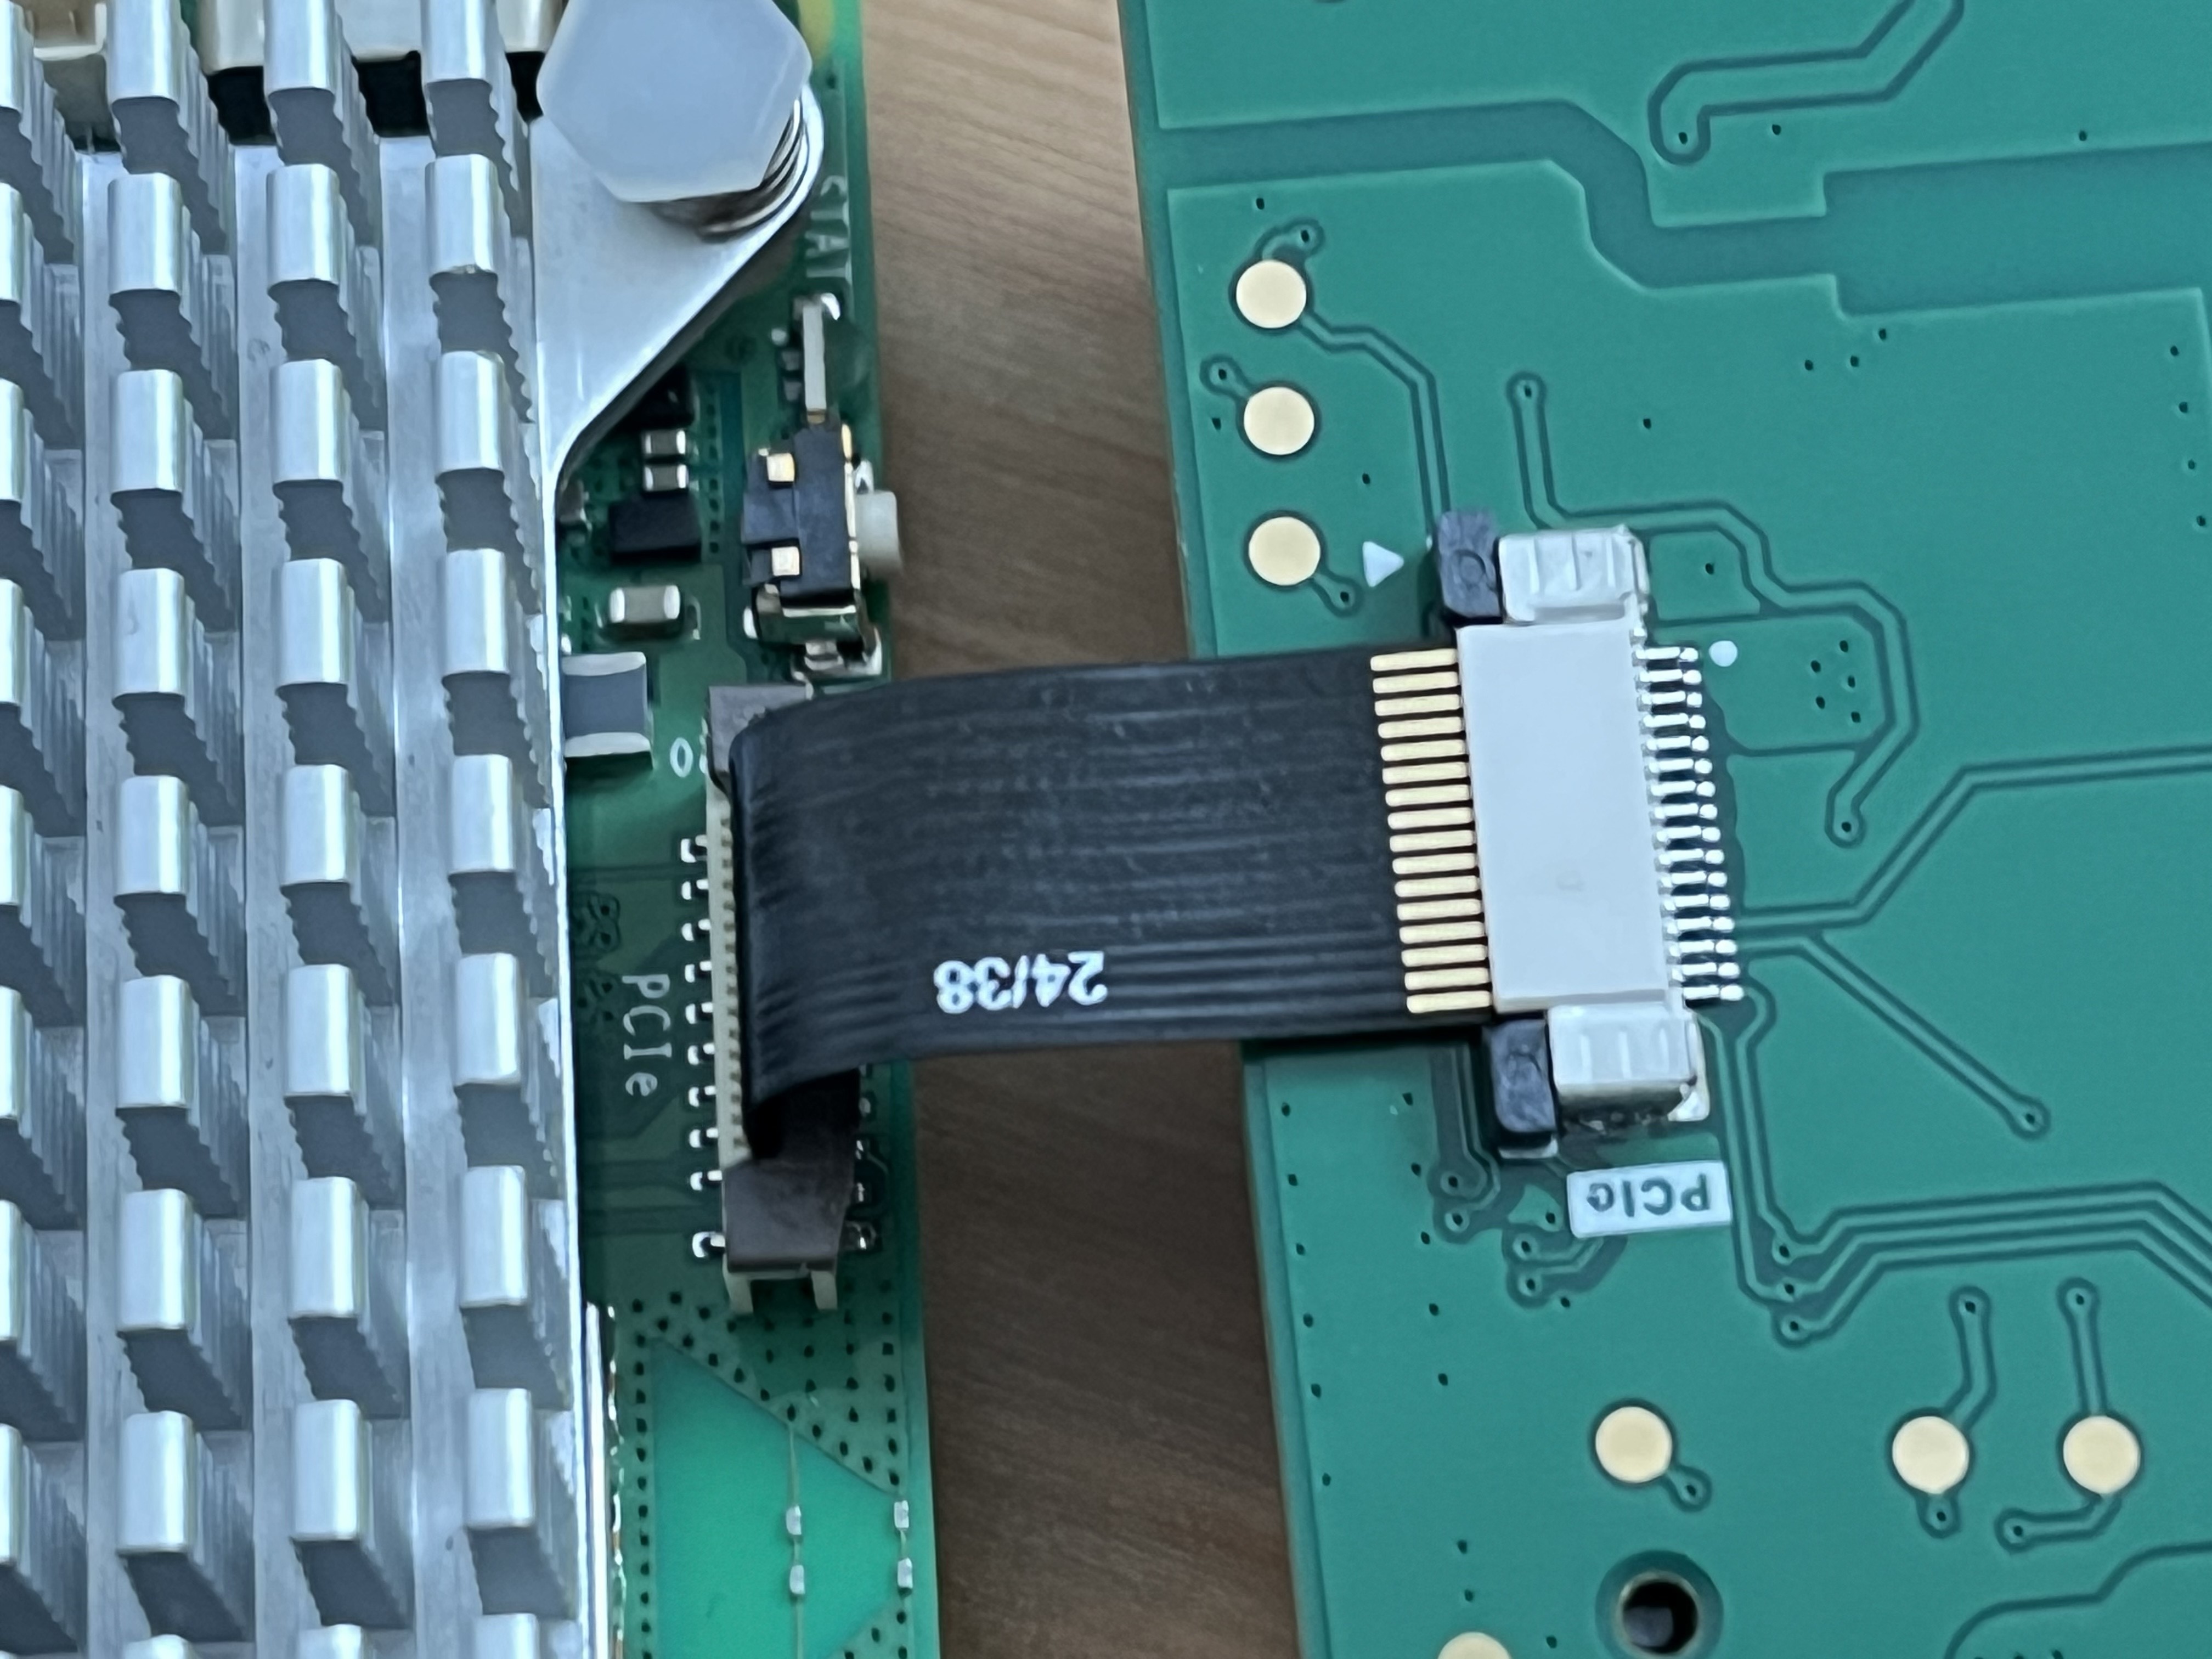
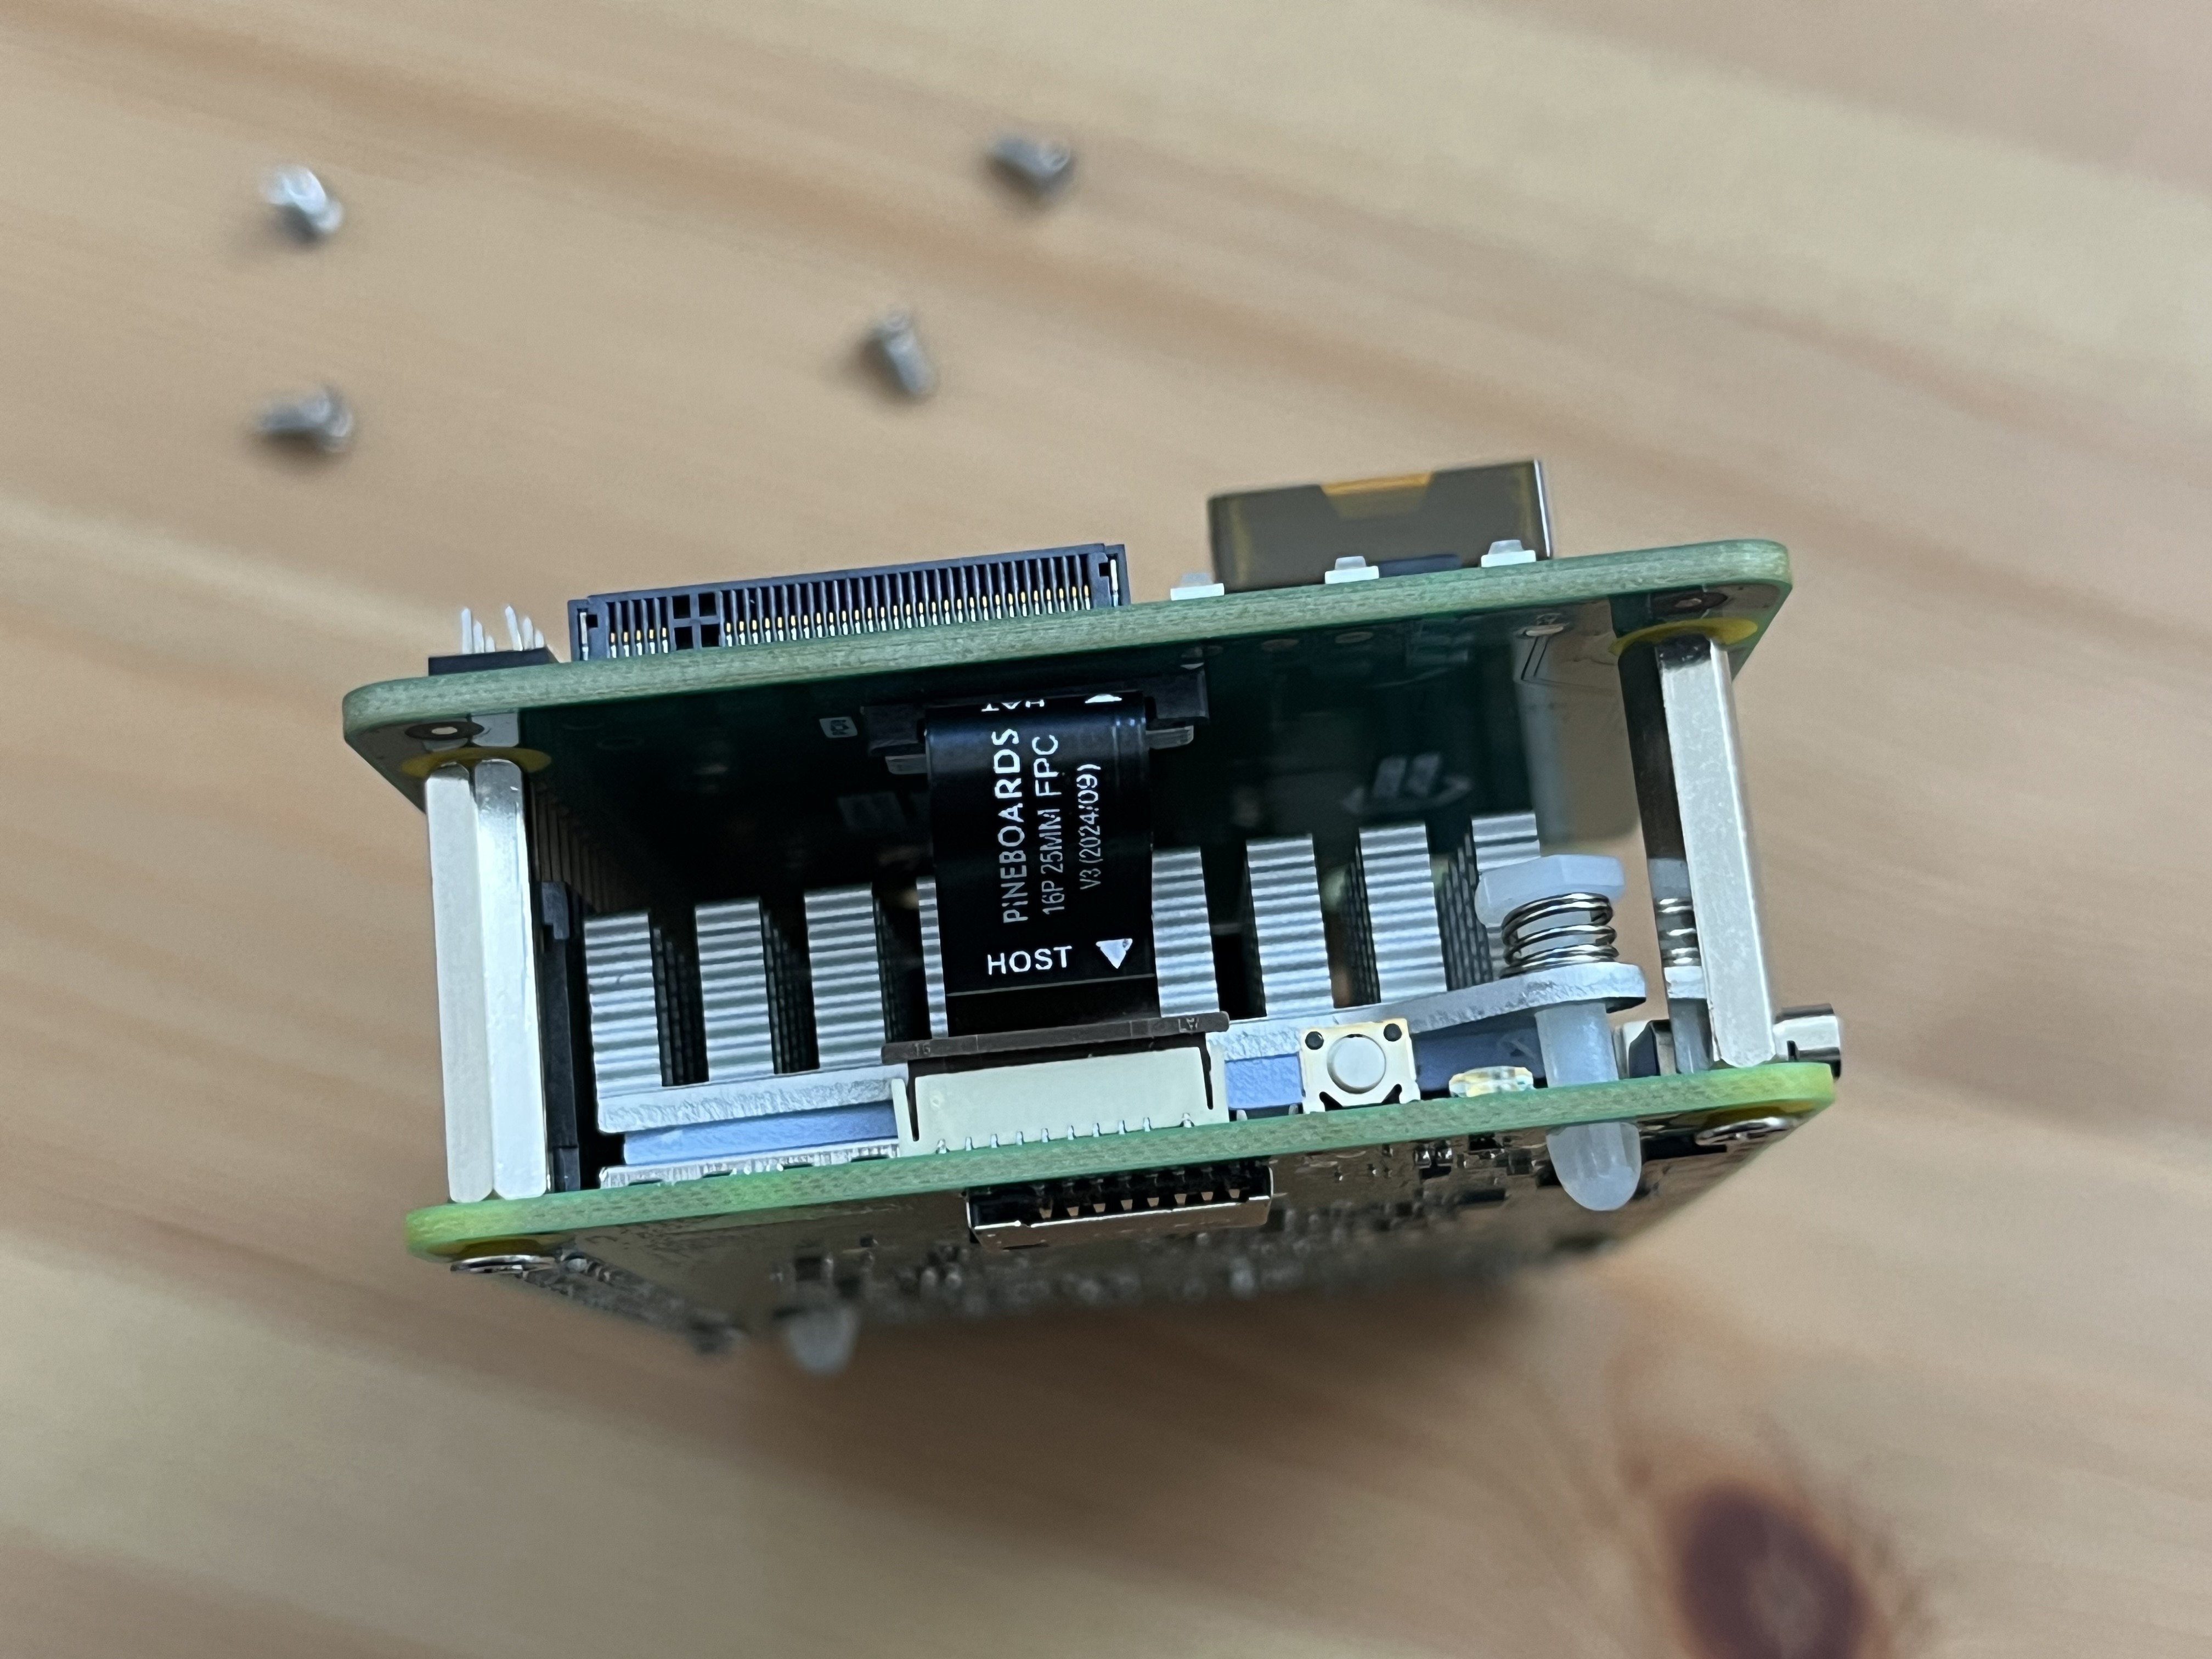
Attach the PCIe Cable for nvme
Honestly, I have no advice for this one. Have patience! Try, fail, try again.
Summary
And that’s it, I now have the hardware needed to configure my local Pi5 Kubernetes Cluster.
So I did it twice!