

The problem
A common problem in DevOps is being able to create a different staging environment for each branch.
This would allow QA to test the features individually, or even run destructive tests against environments created on the fly.
The Solution
During this blog post, we will look at:
- Building a simple Docker container
- Creating a helm chart
- Using GitLab CI to build our container
- Using helm to create the environment
For example, if a new branch called branch-1 is created then we want GitLab CI to automatically create the container.
We can then use helm to deploy this to k8s with the URL branch-1.rhuaridh.co.uk.
To keep things simple and cheap, we will use DigitalOcean rather than EKS.
Prerequisites
If you're using DigitalOcean, then you will need to install doctl. Each cloud provider has their own way of handling authentication.
After that you will need to install kubectl, this is what we use to manage kubernetes.
Finally you need to install helm, this is the k8s package manager.
I will also be using the DigitalOcean load balancer and container registry.
Docker Container
Create our demo PHP application
Inside our repo, we want to a src/index.php file:
<ul>
  <li><?php echo getenv('WEBSITE_NAME') ?: 'unknown' ?></li>
  <li><?php echo getenv('WEBSITE_URL') ?: 'unknown' ?></li>
</ul>
This can be made pretty later, but for now I want to emphasise using environment variables.
This same approach can then be applied to Magento, Drupal, Laravel, Wordpress, etc.
Create our Dockerfile
For our demo, we will created a file called Dockerfile in the root directory. We will keep this simple.
FROM webdevops/php-nginx-dev:8.0-alpine

COPY ./src /web

#RUN cd /web && composer install
All we are doing here is taking our src directory and bundling it into our docker container.
Helm
Because we are looking to launch multiple variations of the same site we will need a package manager.
The package manager in k8s is called helm.
Create helm chart
Creating a helm chart is easy, to get started just run:
mkdir k8s && cd k8s
helm create staging-per-branch
This will create our staging-per-branch chart inside our k8s directory.
staging-per-branch/
├── .helmignore   # Contains patterns to ignore when packaging Helm charts.
├── Chart.yaml    # Information about your chart
├── values.yaml   # The default values for your templates
├── charts/       # Charts that this chart depends on
└── templates/    # The template files
    └── tests/    # The test files
Now we can delete all of the .yaml template files as we will be creating our own:
rm staging-per-branch/templates/*.yamlCreate ingress.yaml manifest
Now we can create out staging-per-branch/templates/ingress.yaml file:
{{- $fullName := include "staging-per-branch.fullname" . -}}
    apiVersion: networking.k8s.io/v1
    kind: Ingress
    metadata:
      name: {{ $fullName }}
      labels:
        {{- include "staging-per-branch.labels" . | nindent 4 }}
      annotations:
        kubernetes.io/ingress.class: nginx
        nginx.ingress.kubernetes.io/proxy-buffering: "on"
        nginx.ingress.kubernetes.io/proxy-buffer-size: "8k"
        nginx.ingress.kubernetes.io/proxy-buffer-number: "4"
    spec:
      rules:
      - host: {{ .Values.env.WEBSITE_URL }}
        http:
          paths:
          - pathType: Prefix
            path: "/"
            backend:
              service:
                name: {{ include "staging-per-branch.fullname" . }}
                port:
                  number: 80
The key part to note in this file is our use of {{ .Values.env.WEBSITE_URL }}, this means that each website we launch now can have it's own preconfigured subdomain per branch.
Create values.yaml
Next up, let's wipe our staging-per-branch/values.yaml file and set our own default values:
env:
    WEBSITE_NAME: "Branch 1"
    WEBSITE_URL: "branch-1.rhuaridh.co.uk"
These values will be overwritten at the end, so that we can specify a unique WEBSITE_NAME and WEBSITE_URL per staging environment.
Create web.yaml
Our web application is contained in a docker container, so we need to create a manifest file to deploy this here staging-per-branch/web.yaml:
apiVersion: v1
  kind: Service
  metadata:
    name: {{ include "staging-per-branch.fullname" . }}
    labels:
      {{- include "staging-per-branch.labels" . | nindent 4 }}
  spec:
    type: ClusterIP
    ports:
    - port: 80
    selector:
      {{- include "staging-per-branch.selectorLabels" . | nindent 4 }}
  ---
  apiVersion: apps/v1
  kind: Deployment
  metadata:
    name: {{ include "staging-per-branch.fullname" . }}
    labels:
      {{- include "staging-per-branch.labels" . | nindent 4 }}
  spec:
    replicas: 2
    serviceName: {{ include "staging-per-branch.fullname" . }}
    selector:
      matchLabels:
        {{- include "staging-per-branch.selectorLabels" . | nindent 6 }}
    template:
      metadata:
        labels:
          {{- include "staging-per-branch.selectorLabels" . | nindent 8 }}
      spec:
        containers:
        - name: {{ include "staging-per-branch.fullname" . }}
          image: registry.gitlab.com/digitalboutique/internalprojects/hyva/web:latest
          envFrom:
            - configMapRef:
                name: {{ include "staging-per-branch.fullname" . }}-config
          # Check to see if the container needs restarted
          livenessProbe:
            httpGet:
              path: /
              port: 80
            initialDelaySeconds: 5
            periodSeconds: 3
          # Check when the container is ready to accept traffic
          readinessProbe:
            httpGet:
              path: /
              port: 80
            initialDelaySeconds: 5
            periodSeconds: 3

  ---
  apiVersion: v1
  kind: ConfigMap
  metadata:
    name: {{ include "staging-per-branch.fullname" . }}-config
    labels:
      {{- include "staging-per-branch.labels" . | nindent 4 }}
  data:
    WEBSITE_URL: {{ .Values.env.WEBSITE_URL }}
    WEBSITE_NAME: {{ .Values.env.WEBSITE_NAME }}
So our web.yaml manifest will contain our Service, so that nginx knows where to route the traffic. It will also container our Deployment which will create our pod, and finally it will container our ConfigMap which will inject our environment variables into our container.
Create our ingress controller
Since we're using managed k8s inside of DigitalOcean, we can just use their one click install for ingress-nginx so that it will integrate nicely with their load balancer.
You can find this option within the DigitalOcean k8s dashboard.

GitLab CI
Create Dockerfile
Because we're using GitLab to store our code, we can now create a .gitlab-ci.yml file inside our root directory.
Here is an example implemention, be sure to replace the REPOSITORY_URL variable below.
image: docker:19.03.13

variables:
  REPOSITORY_URL: registry.digitalocean.com/my-repo-name/staging-per-branch
  CONTAINER_NAME: staging-per-branch

services:
- docker:dind

stages:
  - build

build:
  stage: build
  script:
    - echo $DIGITALOCEAN_API_KEY | docker login -u $DIGITALOCEAN_API_KEY --password-stdin registry.digitalocean.com
    - docker build -t ${CONTAINER_NAME}:${CI_COMMIT_SHA} .
    - docker tag ${CONTAINER_NAME}:${CI_COMMIT_SHA} ${REPOSITORY_URL}:${CI_COMMIT_SHA}
    - docker push $REPOSITORY_URL
Configure GitLab
Next, we need to configure our DIGITALOCEAN_API_KEY environment variable inside of GitLab CI. This is so gitlab can access our k8s cluster.
We can generate the key inside DigitalOcean under API:
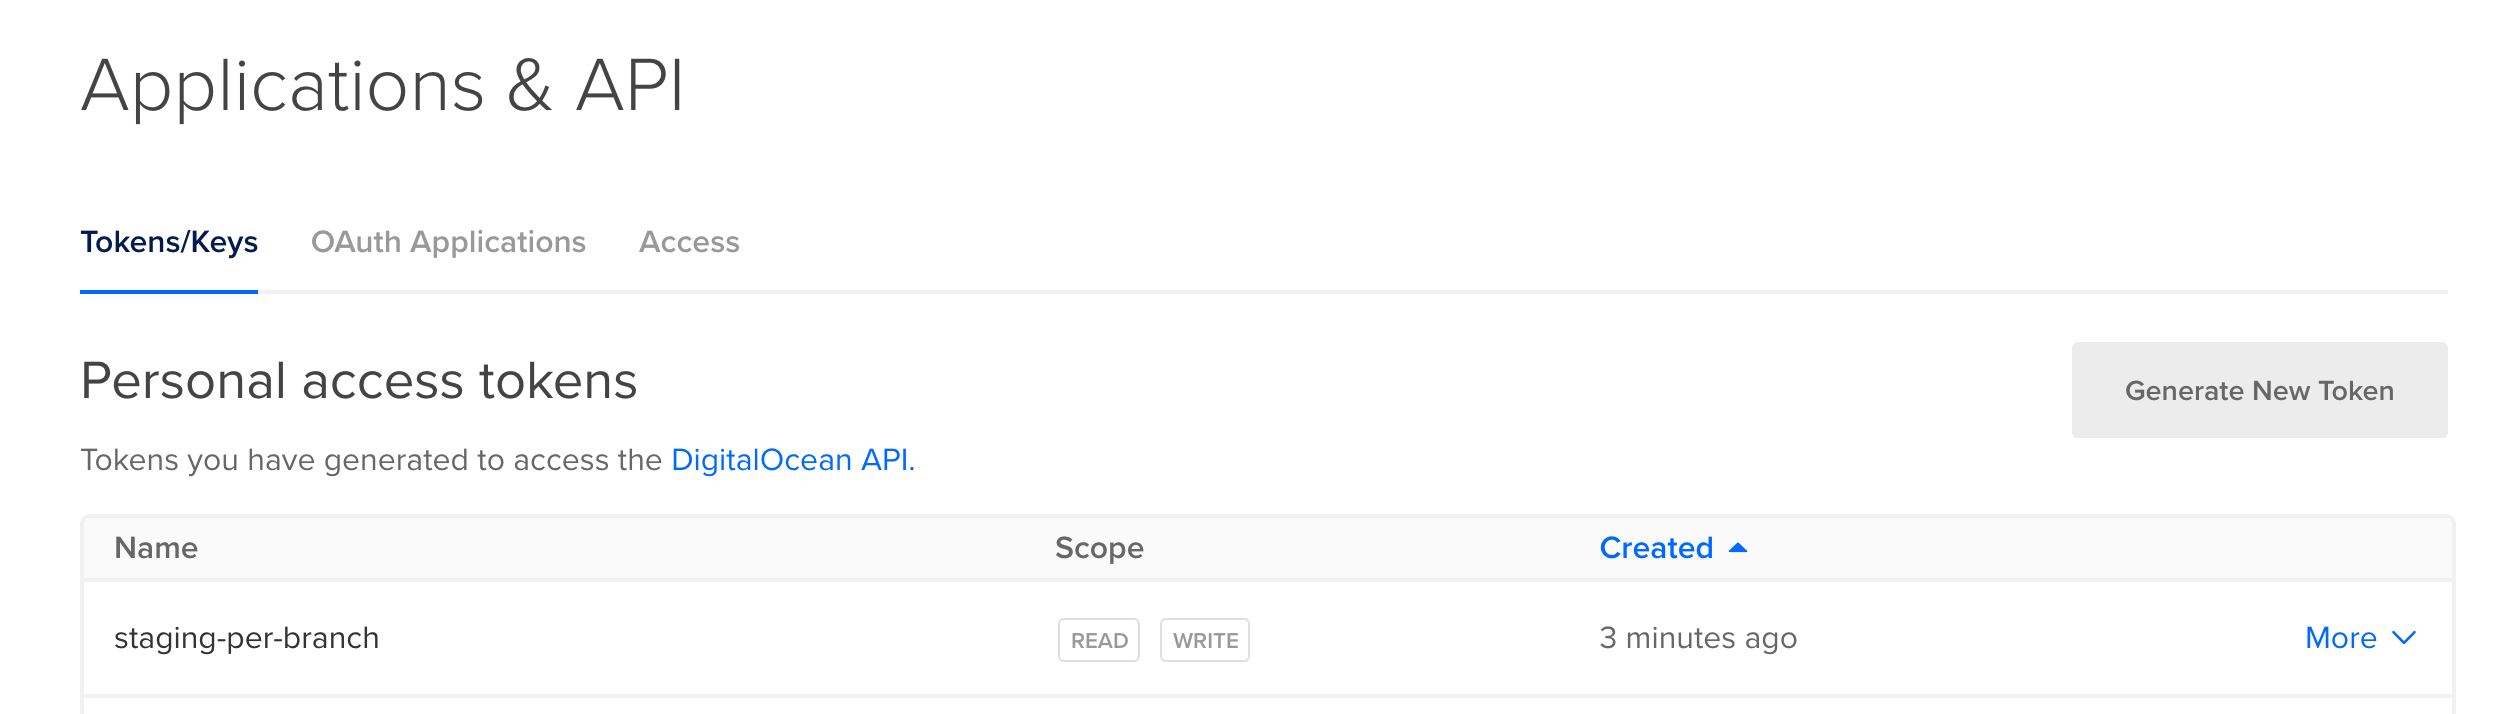
Then we can add the api key here inside of our GitLab repo:

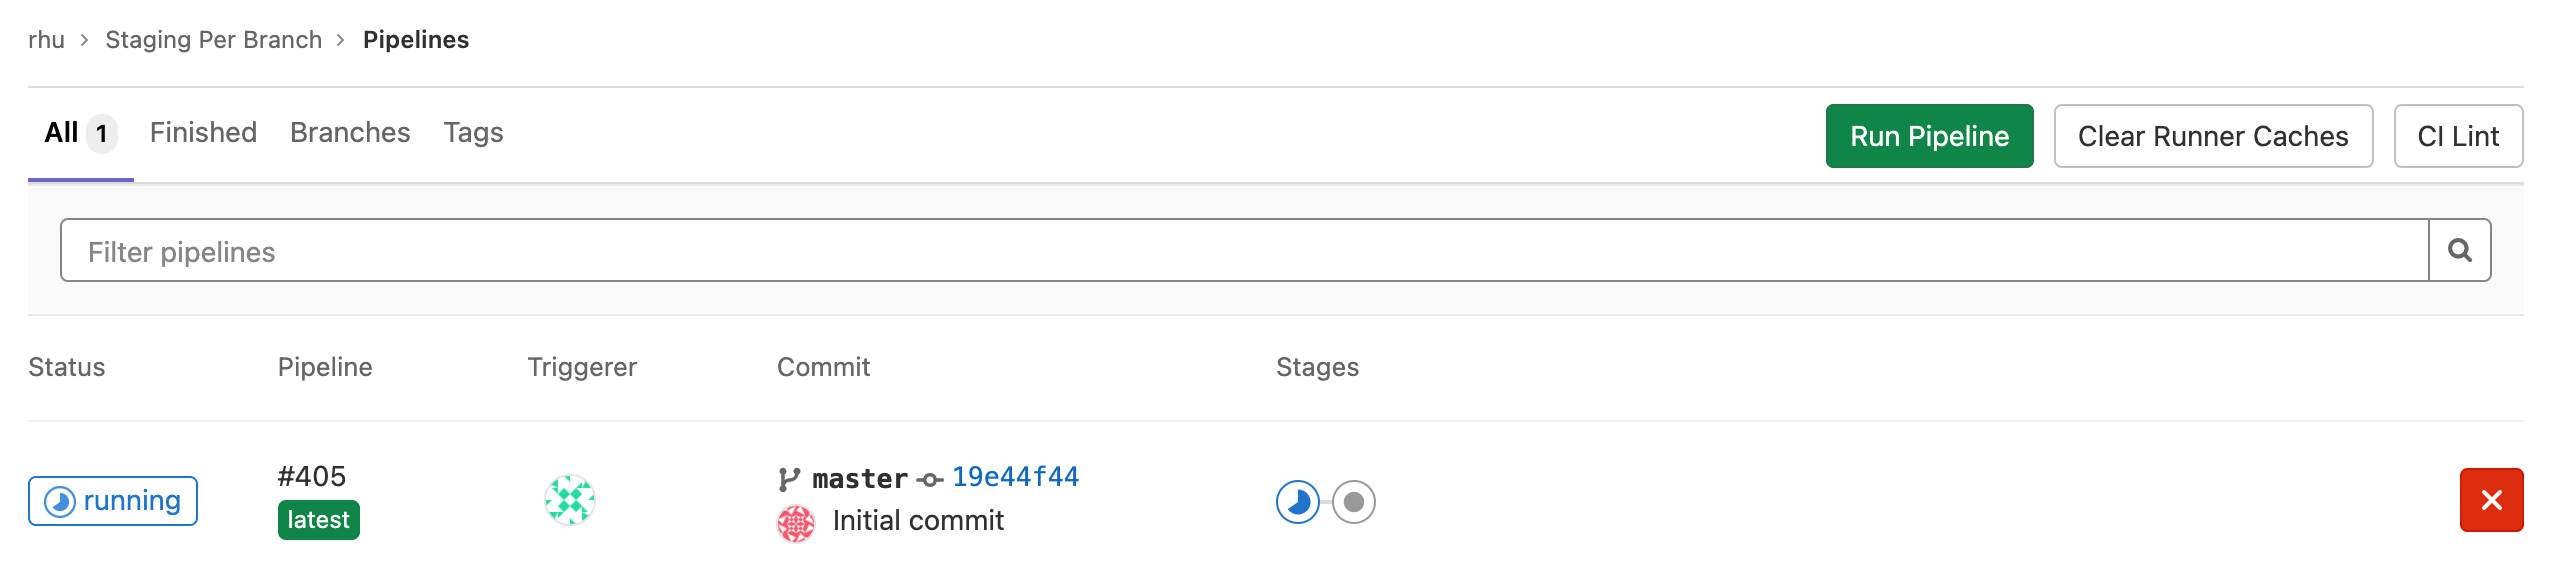
Once we push our repo, we will now see it building under CI / CD -> Pipelines
Launching new environment
After you have followed the kubectl authentication instructions to connect to your cluster, you can now launch a unique environment for each branch name.
First set the BRANCH_NAME variable:
BRANCH_NAME=demo-1Then to launch a new staging environment just run this:
CI_COMMIT_SHA=`git log origin/${BRANCH_NAME} --pretty=format:"%H" | head -n 1`

helm install ${BRANCH_NAME} \
  --set env.WEB_CONTAINER="${REPOSITORY_URL}:${CI_COMMIT_SHA}" \
  --set env.WEBSITE_URL="${BRANCH_NAME}.rhuaridh.co.uk" \
  ./k8s/staging-per-branch
Then, once you're done you can simply remove the environment by running:
helm uninstall ${BRANCH_NAME}Summary
That's it! You can now create a new staging environment for each feature branch.
This is a powerful tool to have in your development arsenal:
- You can test each feature branch independently, speeding up QA.
- You can launch multiple versions of each branch, allowing you to run slow integration tests in parallel.
- You can run destructive tests and rebuild the environment with a single command.